Taking a screenshot on a Mac is in many respects a trivial operation, but people coming from other platforms, or who only use their computer occasionally, may find it tricky. Yet capturing screenshots on a Mac is very easy.
There are various specific keyboard shortcuts built into the operating system that are easy to memorise. For particular needs, you can also use third-party utilities which, as you might expect, offer more features than the basic ones. Let’s start from the beginning, though, and see how to capture screenshots on a Mac using keyboard shortcuts
- 1 Taking Mac screenshots with the operating system
- 1.1 How to capture the entire screen
- 1.2 How to capture a selected portion of the screen
- 1.3 How to capture a specific window
- 1.4 Saving screenshots to the Clipboard
- 1.5 How to capture the Touch Bar
- 1.6 How do I change the file format from PNG to JPG and other formats?
- 1.7 How to change the save location
- 1.8 How do I hide files and folders in the Finder?
- 2 The “Grab” application
- 3 Why do some applications prevent screenshots?
- 4 Alternative screenshot tools
Taking Mac screenshots with the operating system
macOS lets you capture the entire screen (everything you see on the monitor) or just a portion selected by the user. In all cases, the screenshot is automatically saved to the desktop. From Mac OS X 10.6 onwards, screenshots are saved to the desktop by default as .png files, automatically named “Screen Shot date at time.png” (in other words, the name includes the date and time the screenshot was taken).
How to capture the entire screen
To capture a screenshot of everything shown on the screen, simply press Shift-Command (⌘)-3 together. The screenshot is saved to the desktop as a .png file.
How to capture a selected portion of the screen
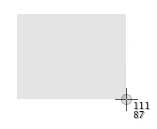
To take a screenshot of a selected part of what you see on screen, press Shift-Command-4: the pointer turns into a crosshair, and you can hold down the mouse (or trackpad) button and select the area you want. You can hold down the Shift key, the Option key or the space bar while dragging; once you have selected the desired area, release the mouse or trackpad button.
To cancel, press Esc before releasing the button. Again, the screenshot is saved to the desktop as a .png file.
How to capture a specific window
To take a screenshot of a window, proceed as follows:
- Press Shift-Command-4 (the pointer turns into a crosshair)
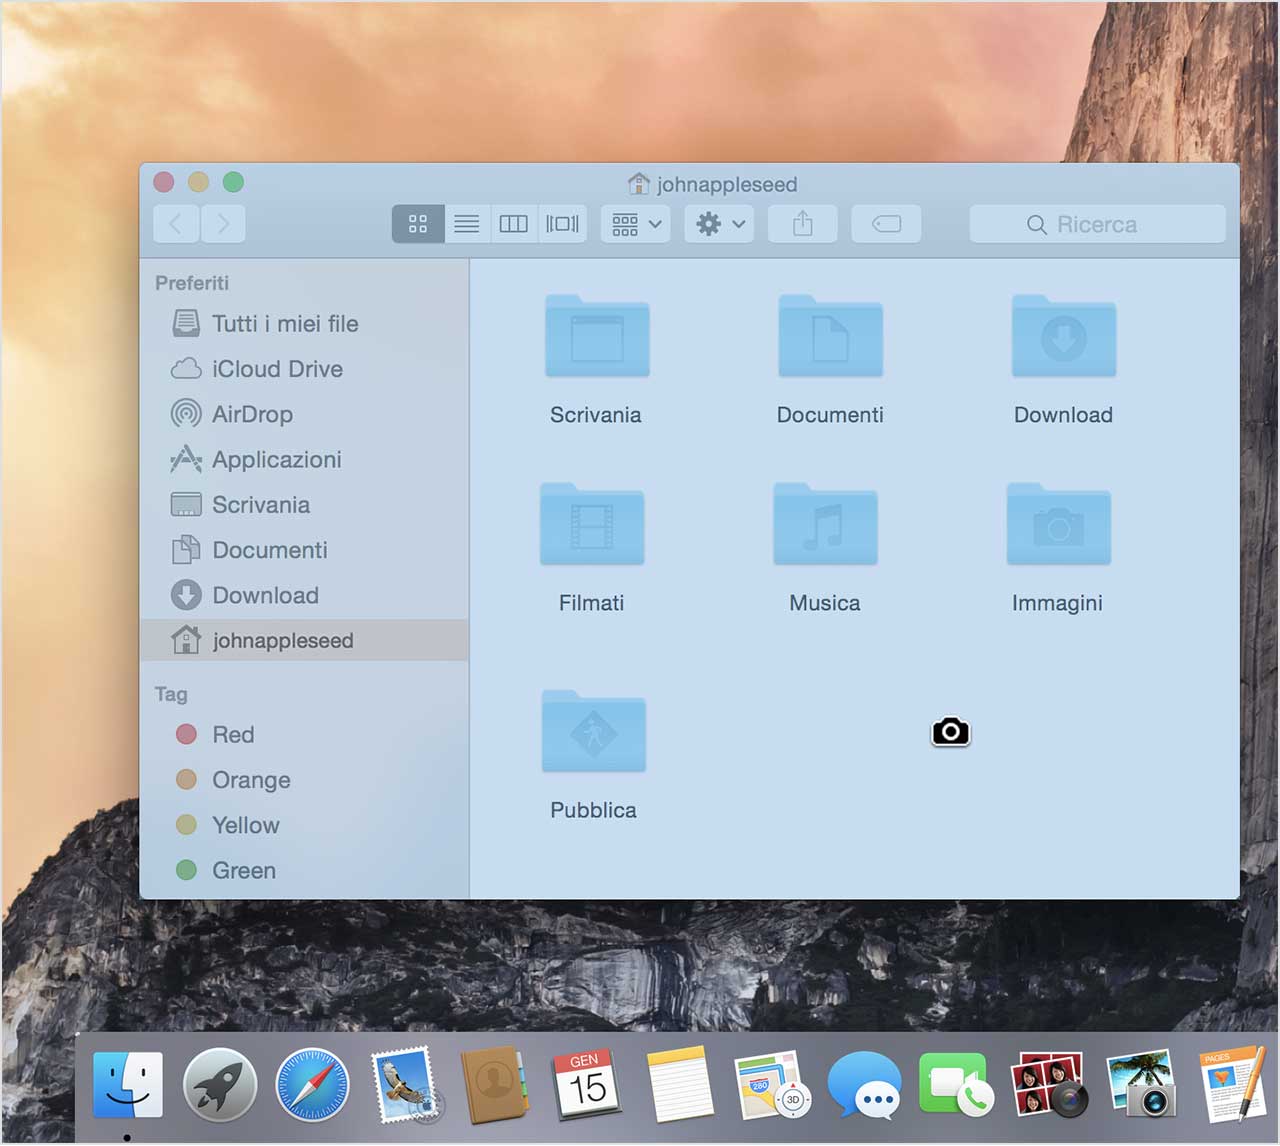
- Press the space bar (the pointer turns into a camera)
- Move the camera over the window you want to highlight it.
- Click with the mouse or trackpad. To cancel, press the Esc key before clicking.
As with the screenshot methods described above, the screenshot is saved to the desktop as a .png file.
Saving screenshots to the Clipboard
To save a screenshot to the system Clipboard instead of the desktop, simply add the Control key to the key combinations above. For example, press Control-Shift-Command-3 instead of Shift-Command-3. You can then paste it into any program that supports images. Almost all Mac applications have an “Edit” menu, from which you can paste the contents of the Clipboard.
After capturing a screenshot to the Clipboard, in applications such as Pages or Word, simply place the cursor where you want it and paste the contents of the Clipboard (the “Paste” command in the “Edit” menu).
How to capture the Touch Bar
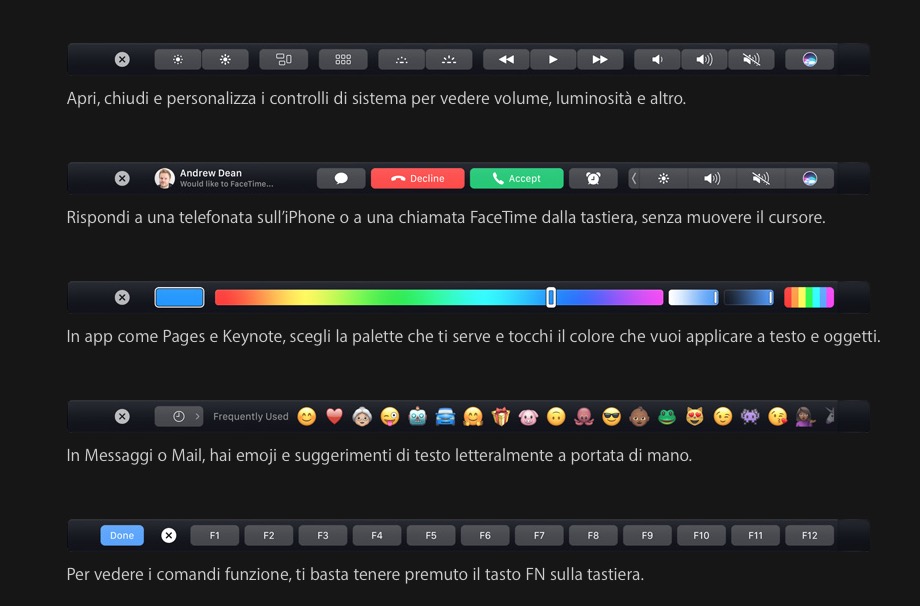
You can capture a screenshot of the Touch Bar on recent MacBook Pro models running macOS 10.12.2 or later. To do so, press Shift-Command-6. The Touch Bar screenshot is saved to the desktop as a .png file.
How do I change the file format from PNG to JPG and other formats?
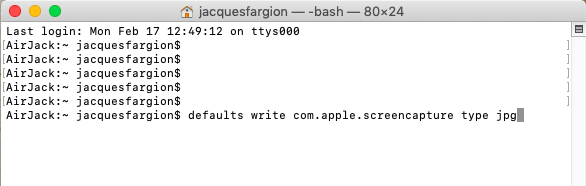
By default, macOS saves screenshots in PNG format. You can change this using Terminal. Open the “Terminal” application (found in the “Utilities” subfolder of “Applications”) and type this command:
defaults write com.apple.screencapture type jpg
and press Enter. From then on, screenshots will be saved as JPG. Other formats are also supported: TIFF, GIF and PDF.
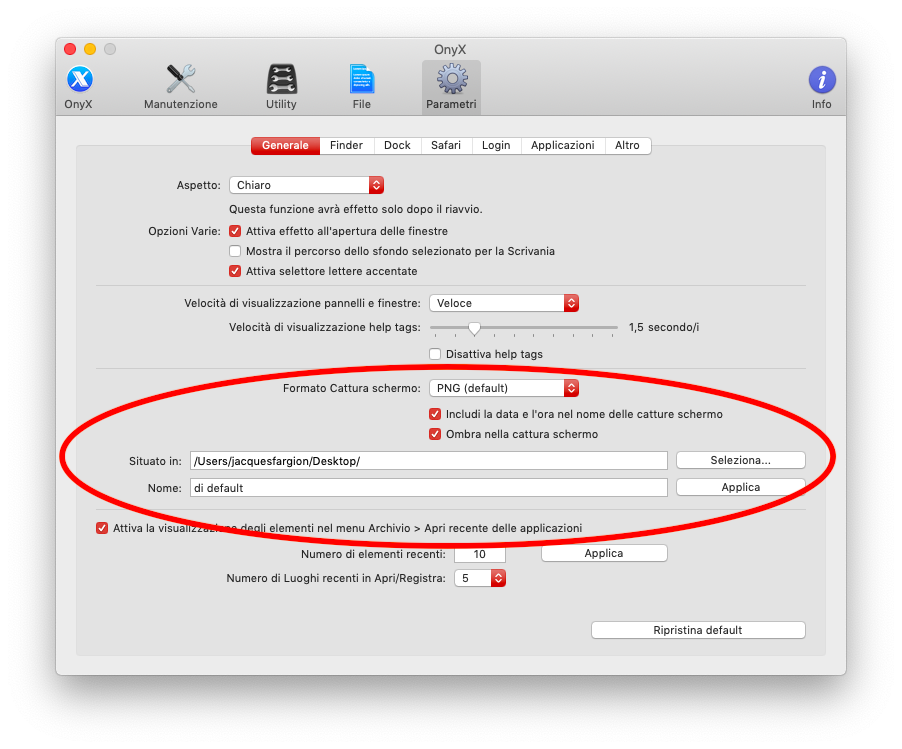
If you don’t want to use Terminal, you can set the default screenshot format using the OnyX utility, which you can download from this address. Double-click the disk image and copy the utility to the Applications folder. Note that when you first launch it, you will be told the software comes from an unidentified developer.
Open System Preferences, select “Security & Privacy” and, in the General section, click “Open Anyway”. In OnyX you can select the “Parameters” option, choose the screenshot format you want (BMP, TIFF, JPEG, etc.), choose whether or not to include a shadow in screenshots and whether to include the date and time in the file name, and choose a destination folder other than the Finder desktop.
How to change the save location
You can also use Terminal to change the save location from the desktop to another folder. Simply type the command
defaults write com.apple.screencapture location [percorso dove salvare]
and press Enter.
For example, launch Terminal and type the command defaults write com.apple.screencapture location ~/Downloads where “Downloads” is the Downloads folder: if you want to save them in another specific folder, simply change the path where the file should be saved. To identify the path, we recommend enabling the Show Path Bar option in the Finder‘s View menu, so that you know exactly where a folder is located on your Mac.
In all cases, after changing the path, type the command killall SystemUIServer to apply the changes.
How do I hide files and folders in the Finder?
For various reasons, it can sometimes be useful to take screenshots of the macOS Finder with all the files and folders on it hidden. You can do this with a Terminal command, but there is also a utility called “Hide Desktop Icons” (available on the Mac App Store in a free version or a “Pro” version for €3.49) which, from a handy icon in the menu bar, lets you instantly show/hide files and folders — useful for taking screenshots without distractions.
The “Grab” application
Grab is an application that comes with macOS (found in the “Utilities” subfolder of “Applications”) which, among other things, lets you capture screenshots. Compared with the Finder keyboard shortcuts, this application lets you capture screenshots in various ways (for example with or without the cursor), and also choose the destination folder and file format.
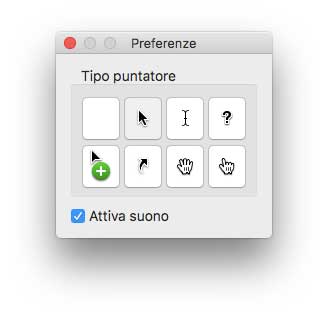
To capture the entire screen after launching Grab, simply choose “Screen” from the “Capture” menu. When you take a screenshot, you will hear a camera shutter sound (if you don’t like it, you can turn it off in the application’s Preferences).
To capture part of the screen, select “Selection” from the “Capture” menu, drag the pointer to outline the area you want to capture, and release the trackpad or mouse button.
For a screenshot of a window, simply select Capture > Window, then click the window you want.
For a screenshot of an active element, select Capture > “Timed Screen”, then click “Start Timer”. Activate an element (for example a menu) and keep it active until the “Timed Screen Grab” dialog box closes.
Including a pointer in a screenshot. In Grab’s Preferences you can select a pointer, which will appear wherever it is when the screenshot is taken.
Saving and converting images from Grab
After taking a screenshot with Grab, you can select File > Save, enter a name, add a tag (optional), and choose a destination folder and format. You can save screenshots in JPEG, PNG or TIFF format. Grab also lets you convert a screenshot to another format. Simply choose File > Export, click the Format pop-up menu, choose a file format and click Save.
Why do some applications prevent screenshots?
Some applications, such as DVD Player, may prevent you from taking screenshots of their windows. This is a protection mechanism used in some cases to prevent the unauthorised use of film frames and other copyrighted material. There are third-party utilities that can capture even screens that DVD Player does not allow you to capture.
Alternative screenshot tools
As we have seen above, macOS comes with everything you need to capture screenshots with ease: keyboard shortcuts and dedicated utilities. However, there is no shortage of third-party applications, useful for anyone who needs more features than those offered as standard. Here are some of the most interesting:
ScreenFloat
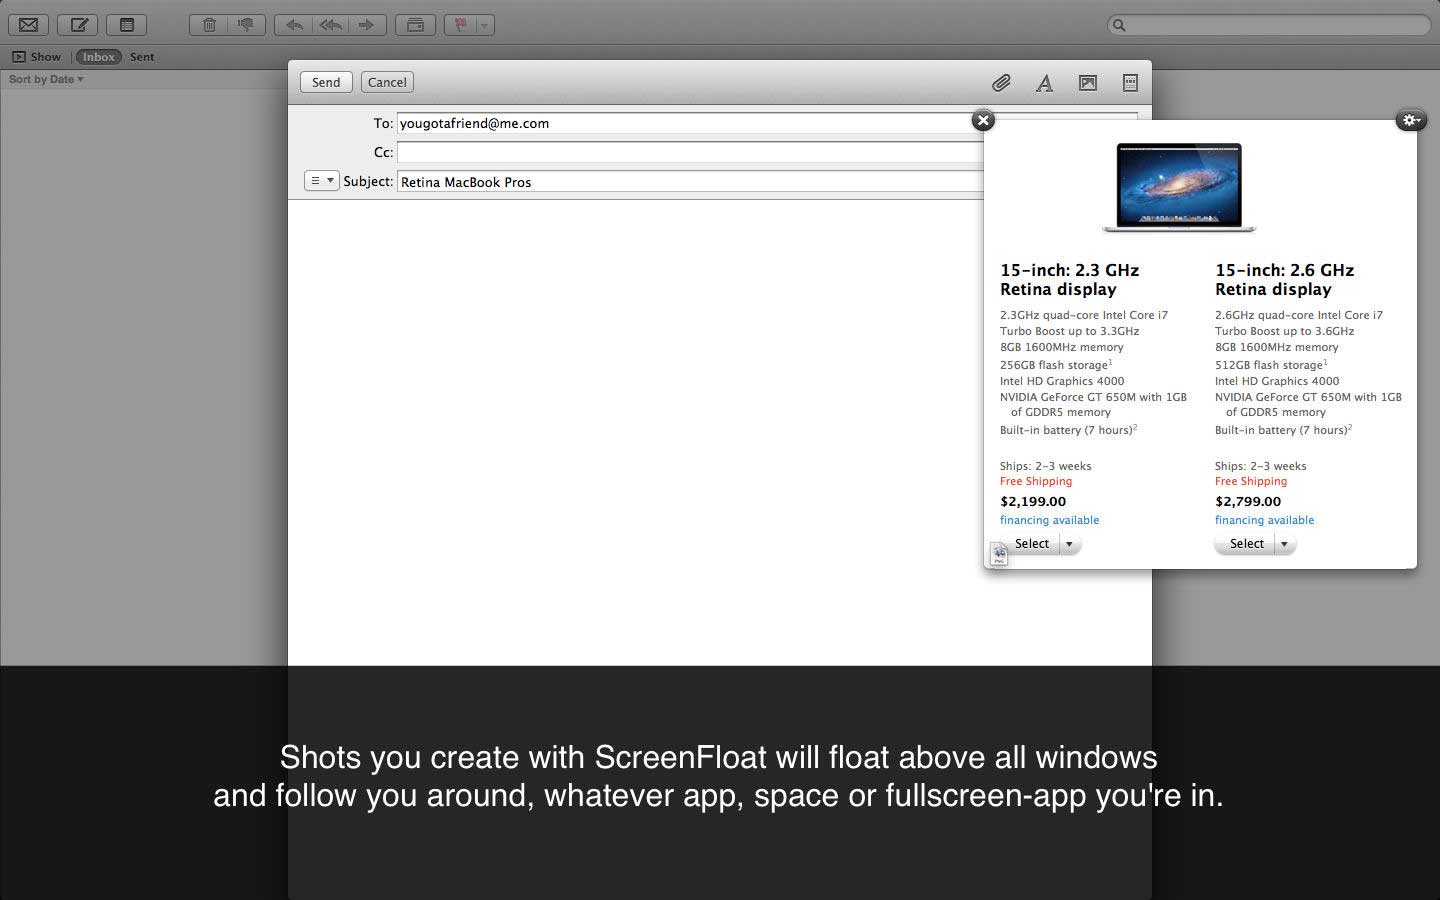
ScreenFloat simplifies capturing and storing any screenshot. You can instantly capture any screenshot (by default with the cmd-shift-2 key combination), and it is immediately turned into a kind of sticky note floating on the screen. You can then save the file, share it, copy it to memory, print it, send it to an application and so on.
Images can be stored in a browser and labelled with tags, grouped into “collections” and “smart collections” that make searching easier, and viewed at various zoom levels. After installing the program, a dedicated icon appears in the menu bar. From here you can open the image browser, hide/show the floating “sticky notes” with captured screenshots, and open the Preferences.
In the Preferences you can create new keyboard shortcuts, choose the default export format (JPG, TIFF, PNG), choose the action to perform on double-click (e.g. sending to Preview), and enable or disable the use of Spaces with open macOS windows. ScreenFloat requires OS X 10.7 or later, is 4.2MB in size and, at the time of writing, is on sale for €9.99 on the Mac App Store.
Skitch
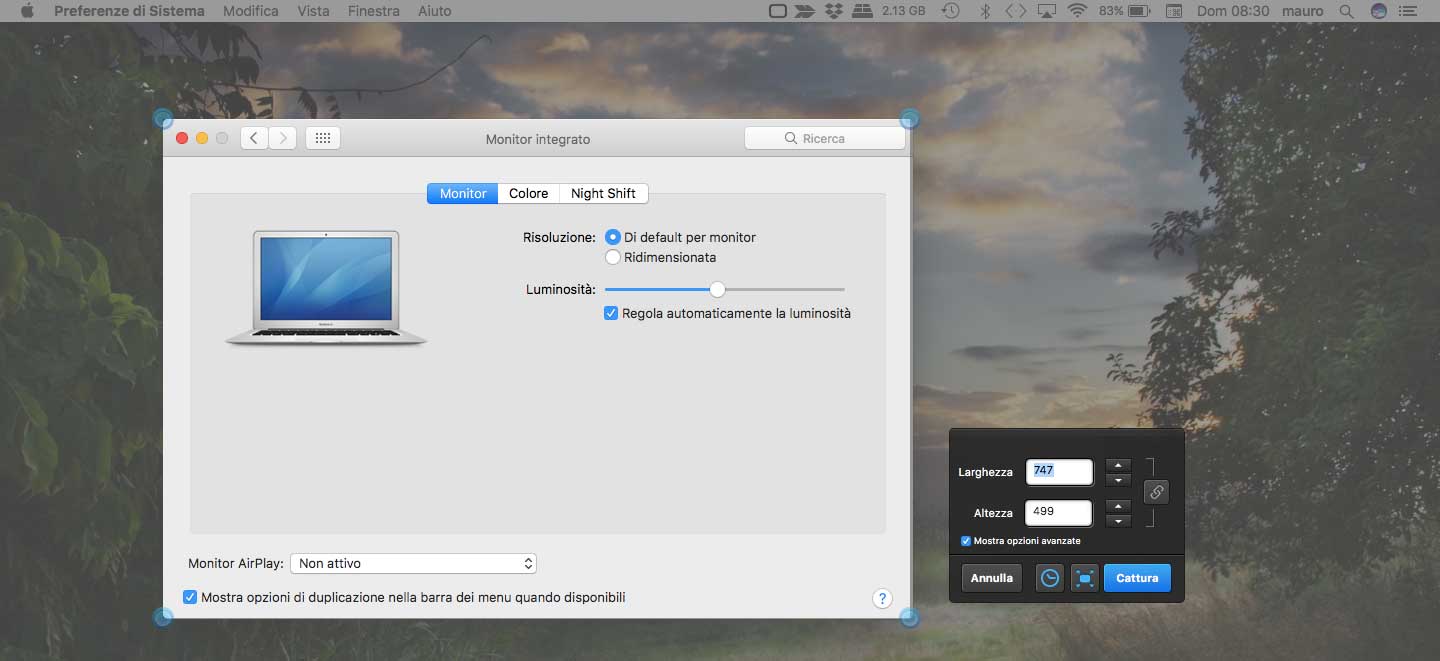
Skitch lets you capture screenshots and add annotations, shapes and sketches. From an icon in the menu bar, you can select what to capture and how: crosshair snapshot, timed crosshair snapshot or full-screen snapshot. The crosshair that appears across the whole screen simplifies capturing, making it very easy to pinpoint the area you want.
After capturing a screenshot, a window appears showing the width and height; you can adjust these parameters, start the timer or capture other areas. Once you have captured the screenshot, you can instantly draw squares, circles, arrows and other shapes, highlight areas, blur areas, save screenshots to Evernote, and share the screenshot (on Facebook or other social networks, via email, etc.). There are also tools to flip/rotate the image, enlarge it, print it and so on. Skitch requires OS X 10.11 or later, is 27.2MB in size and can be downloaded free of charge from the Mac App Store.
Monosnap
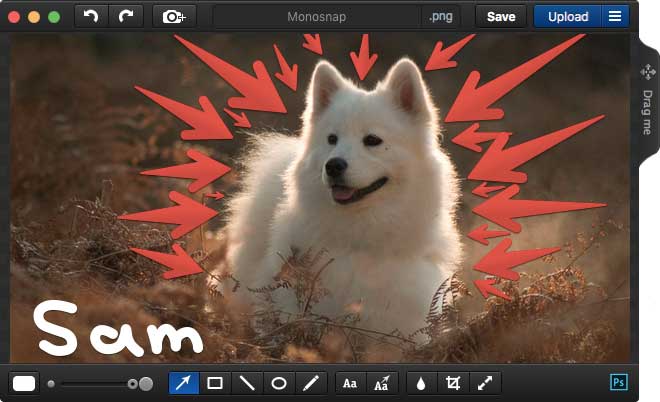
Among the hundreds of screenshot utilities, Monosnap stands out for several features. From an icon in the menu bar you can instantly select what you want to capture (an area, the full screen, or a video recording of an operation). A crosshair makes it very easy to capture exactly the area you want.
The capture appears in a dedicated window, from which you can add arrows, rectangles and various symbols, text, and mark areas, open an external editor, etc. Captured screenshots can be uploaded to FTP, SFTP and WebDAV servers, as well as to Amazon S3, Evernote, Dropbox and other services. The basic application can be downloaded free of charge from the Mac App Store (OS X 10.11 or later required); the external pack for accessing advanced services costs €5.49.
SnapNDRag Pro
This utility is designed for people who need to capture screenshots frequently. You can record the entire screen, windows or areas of the screen using guides (which can be toggled on and off with the “G” key). Captured screenshots are gradually added to a dedicated window, making them easier to manage (for example by putting them in folders, deleting the ones you no longer need and viewing the list in various ways).
You can select the file format you want (JPG at various quality levels, TIFF, GIF), change how files are automatically named, and capture screenshots with a timer. There are also annotation features, with tools for adding arrows, squares and symbols, cropping areas and highlighting/obscuring areas.
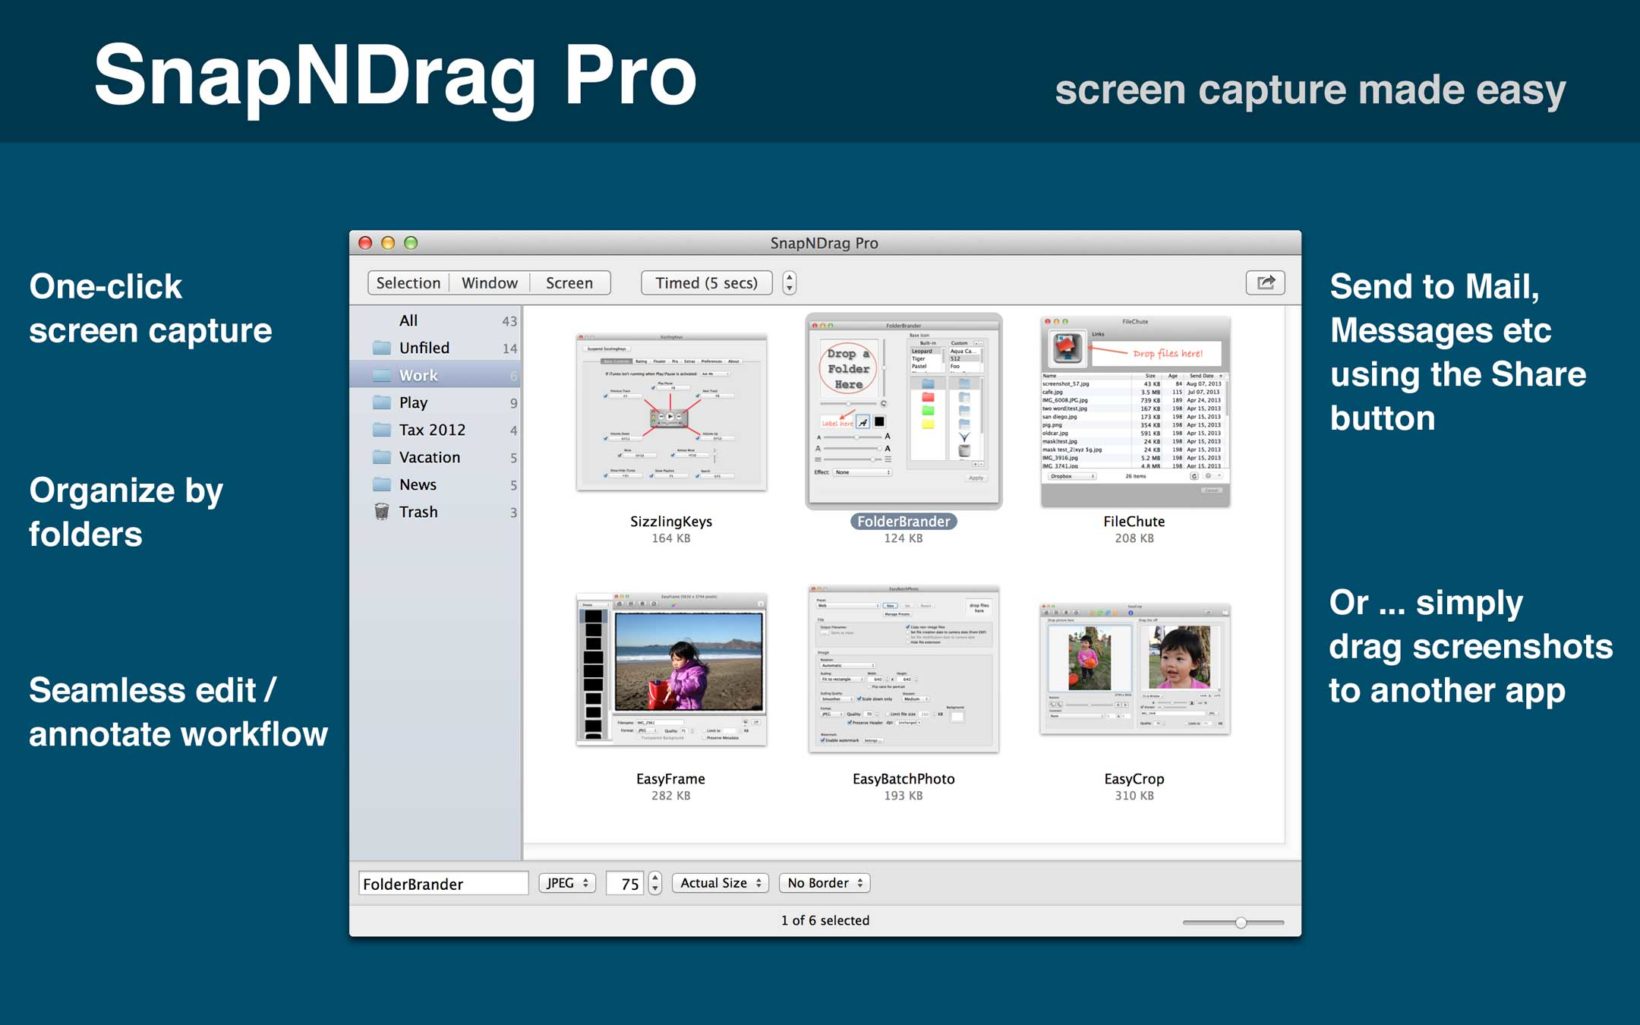
The application runs in the background and can be called up at any time with a (customisable) keyboard shortcut. In the Preferences you can choose whether to show an icon in the menu bar, change how files are named and numbered, choose whether to include cursors and shadows, and much more. SnapNDrag Pro requires OS X 10.11 or later, is 2.1MB in size and, at the time of writing, is on sale for €10.99 on the Mac App Store.
Enjoy!
