In this article we will install RPi-Monitor on a Raspberry Pi. This tool creates a web interface from which you can monitor your Raspberry Pi in real time. The data collected is also stored in RRD (round-robin) databases and displayed as charts in the RPi-Monitor web interface.
These are just some of its features; if you want to find out more, I recommend taking a look at the developer’s website, xavierberger
First, update your Raspberry Pi
sudo apt-get update && sudo ap-get upgrade -y
Now we need to add the author’s repository and its signing key.
sudo apt-get install dirmngrsudo apt-key adv --recv-keys --keyserver keyserver.ubuntu.com 2C0D3C0Fsudo wget http://goo.gl/vewCLL -O /etc/apt/sources.list.d/rpimonitor.listsudo apt-get update
Now we can install RPi-Monitor:
sudo apt-get install rpimonitor
Once installation is complete, find your Raspberry Pi’s IP address with the hostname -I command, then open a web browser and enter your Raspberry Pi’s IP followed by port :8888 in the address bar
For example 192.168.1.123:8888
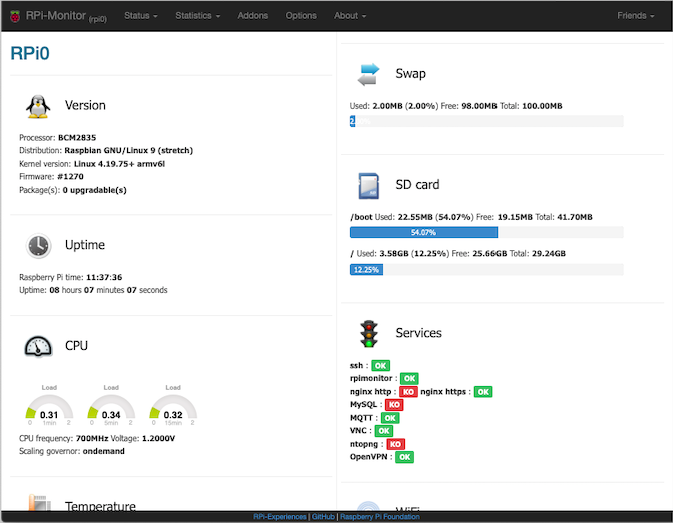
You can change the port and other RPi-Monitor parameters by editing the /etc/rpimonitor/daemon.conf file. You can also customise this page by editing the /etc/rpimonitor/data.conf file, and add further values to display, using the files in the /etc/rpimonitor/template folder as a starting point
Enjoy!
