In a previous article I described how to scan the wireless networks detected by your Raspberry Pi from the terminal. Today I will talk about “wavemon“, an excellent tool that can help with troubleshooting. Unfortunately, this tool is not included by default in the Raspbian image, so you need to install it manually from the terminal.
sudo apt-get update && sudo apt-get upgrade -y
sudo apt-get install -y wavemon
Once installed, you can run the program directly from the terminal window with the command:
wavemon
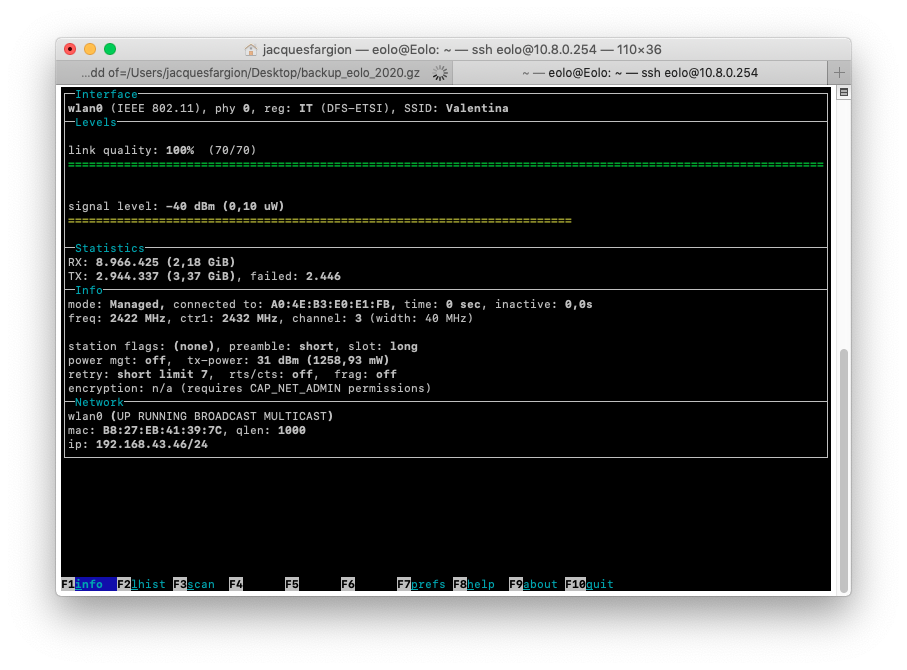
Straight away, the “info” screen will appear, showing link quality, signal level, the number of packets sent/received, all the details of your wireless network and the details of your network adapter.
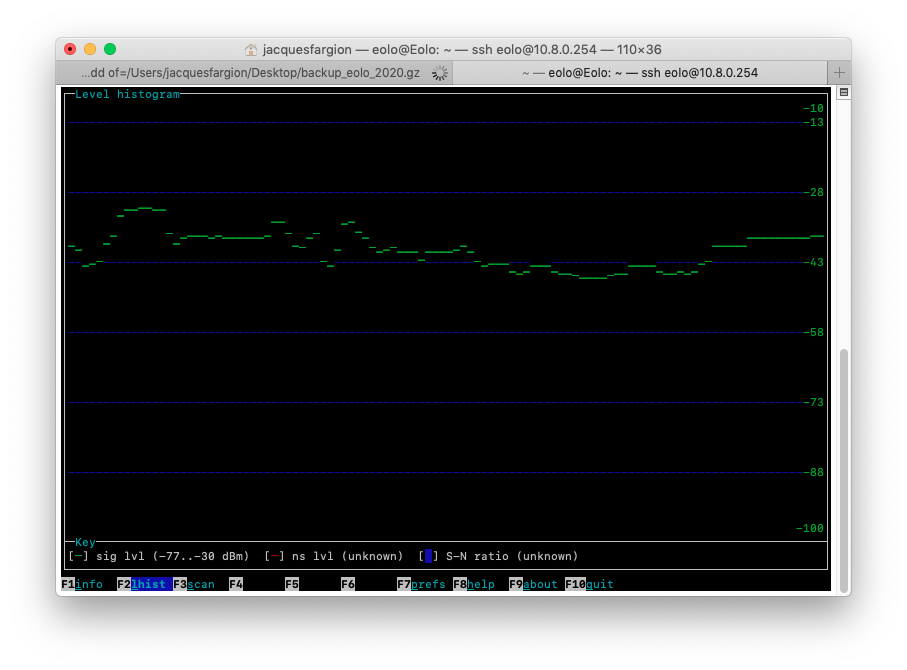
If you press the “l” key, you will switch to the graphical view of the wireless network you are connected to,
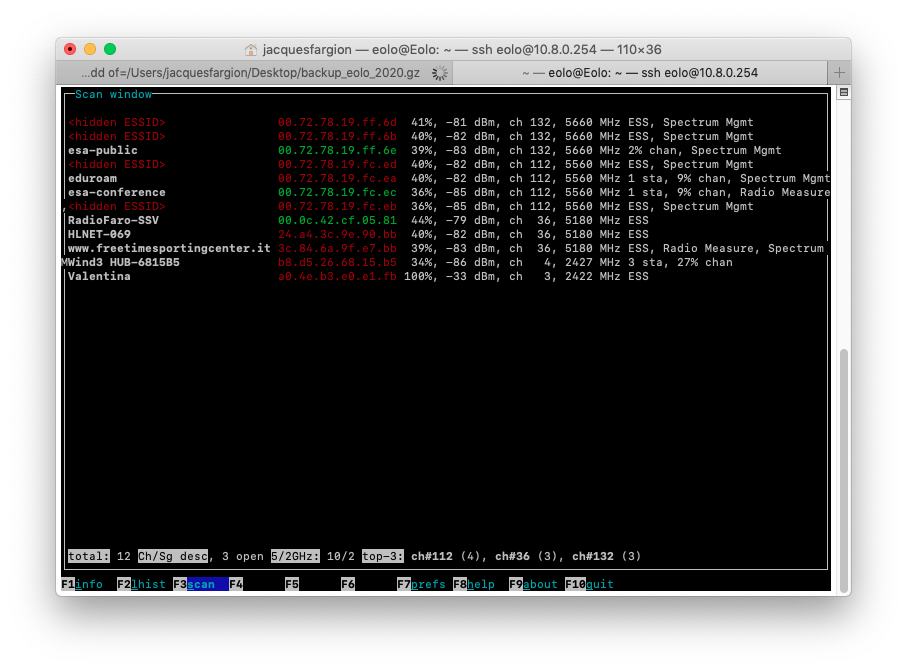
while pressing the “s” key shows the list of wireless networks detected. To display this screen, you need to run wavemon with superuser privileges (sudo wavemon).
In addition, pressing “p” opens the preferences, where you can change some default display settings; “h” opens the program’s help; “a” shows information about the application and its developer; and finally “q” closes the application.
As always, enjoy!
Enjoy!
