In this guide we will install motionEye on a Raspberry Pi. motionEye is an open-source program with a web interface that lets you work with IP cameras or webcams connected directly to your Raspberry Pi. As well as viewing footage, the app lets you set up “triggers”, i.e. actions to perform when motion is detected. These triggers can send notifications, start video recording or even run scripts. Now let’s look at how to install motionEye on a Raspberry Pi.
First, install the Raspbian operating system on the SD card that we will then insert into the Raspberry Pi.
Once the Raspberry Pi has booted, run the usual commands to update everything to the latest version
sudo apt-get update && sudo apt-get upgrade -y
Now install the following packages:
sudo apt-get install ffmpeg v4l-utils
sudo apt-get install libmariadbclient18 libpq5
wget https://github.com/Motion-Project/motion/releases/download/release-4.1.1/pi_stretch_motion_4.1.1-1_armhf.deb
dpkg -i pi_stretch_motion_4.1.1-1_armhf.deb
sudo apt-get install python-pip python-dev libssl-dev libcurl4-openssl-dev libjpeg-dev libz-dev
pip install motioneye
When this installation step is complete, restart the Raspberry Pi with the command:
sudo reboot now
Configuring motionEye
Again from the terminal, run the following:
mkdir -p /etc/motioneye
cp /usr/local/share/motioneye/extra/motioneye.conf.sample /etc/motioneye/motioneye.conf
mkdir -p /var/lib/motioneye
cp /usr/local/share/motioneye/extra/motioneye.systemd-unit-local /etc/systemd/system/motioneye.service
systemctl daemon-reload
systemctl enable motioneye
systemctl start motioneye
pip install motioneye --upgrade
systemctl restart motioneye
Access and web configuration
To access the motionEye web management panel, simply open the link http://raspberry-name or ip:8765 in a web browser, for example: http://raspberrypi:8765
The default username is admin, and the password is blank.
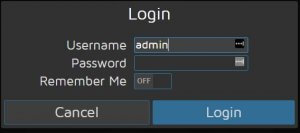
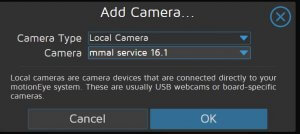
The first time you log in, you will be asked which camera to add.
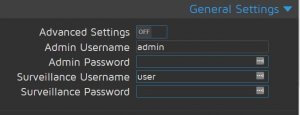
The first thing to do is change the username and password to secure the system.
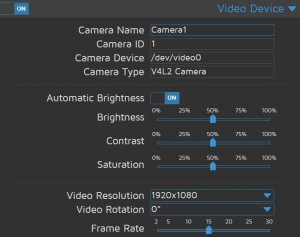
Next, increase the video resolution, give the camera a name (for example “main entrance”) and enable automatic brightness control.
Increasing the frame rate produces smoother video, at the expense of disk space and CPU usage.
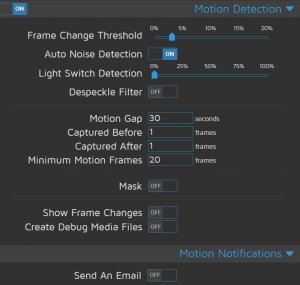
For detecting motion or lights, the motion detection tab offers many useful settings to evaluate according to your needs.
The “send an email” feature, once the SMTP server has been configured, can alert you by email (for help with this, let’s discuss it in the forum).
Personally, though, I prefer “Run a command”, which I can use together with the excellent RpiNotify to receive alerts via Telegram.
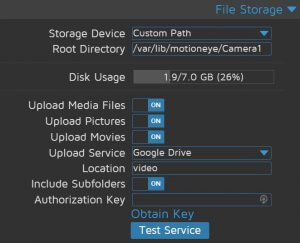
Finally, it is important to choose where to save the files, which can become very large. Since this is a video surveillance system and a burglar could also take the Raspberry Pi, it is best to save your precious footage to the cloud in order to preserve it and be able to use it (hopefully never needed) as evidence for the police in the event of a break-in.
Side notes
Beyond the scope of this guide, now that you have installed the Raspberry Pi, you can also use it to switch on lights or a radio/TV via relays connected to the GPIO, to simulate someone being at home, or play specific sounds such as several people talking, a dog barking, and so on… In short, little by little you can expand the system if you wish… As is often the case with the Raspberry Pi, the only limit is your imagination!
Enjoy!
