This guide explains the steps to install and configure your Raspberry Pi with RaspAP.
RaspAP is a simplified system, with a web interface, for managing the wireless module either as a client or as an access point.
The RaspAP project is available both on GitHub and on its official website.
To install RaspAP you will of course need a Raspberry Pi with an operating system already installed and, if necessary (if your Raspberry Pi does not have a wireless network card), a USB wireless NIC (Network Interface Card).
Start by updating the packages on your Raspberry Pi with the commands:
sudo apt-get update && sudo apt-get upgrade -y && sudo apt-get dist-upgrade -y
when the update is complete, restart the device with:
sudo reboot now
Now open the Raspberry Pi configuration tool with the command:
sudo raspi-config
and set your country in the Localisation Options section
Now exit raspi-config and run the following command:
curl -sL https://install.raspap.com | bash
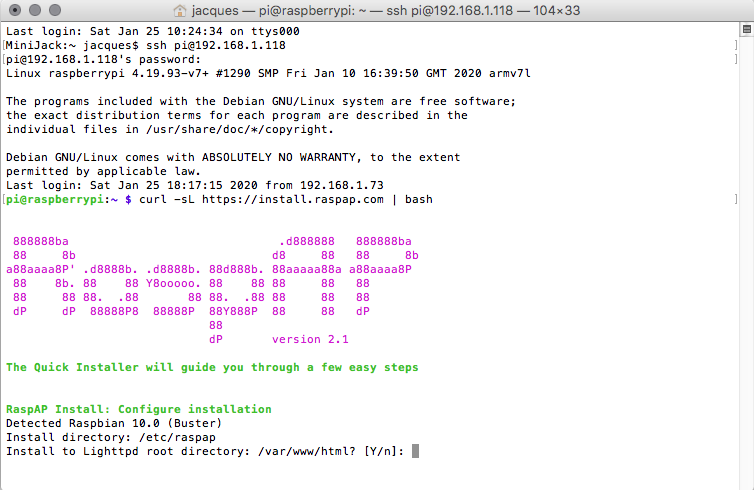
Confirm the installation of Lighttpd in the /var/www/html folder by typing Y
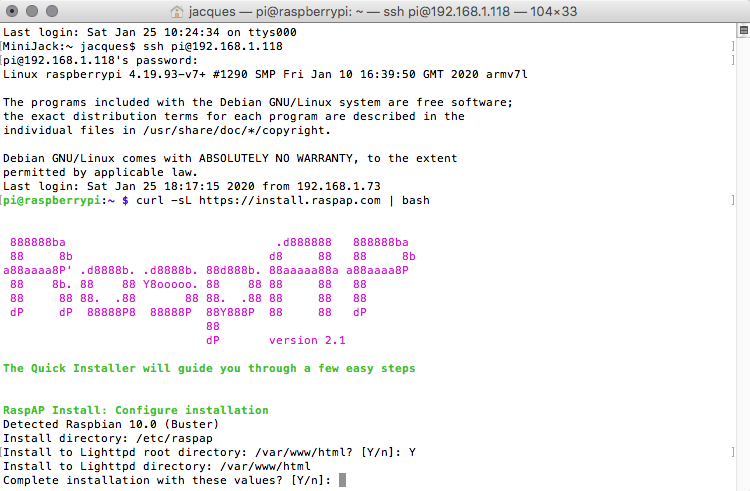
Confirm again by typing Y
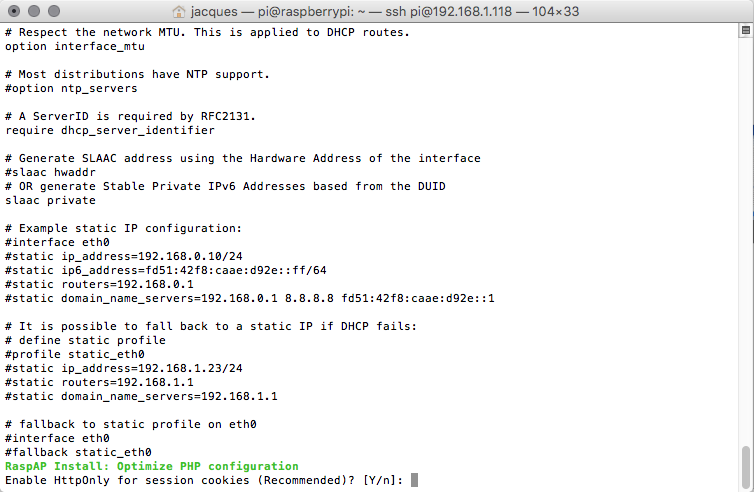
Here too, confirm by typing Y
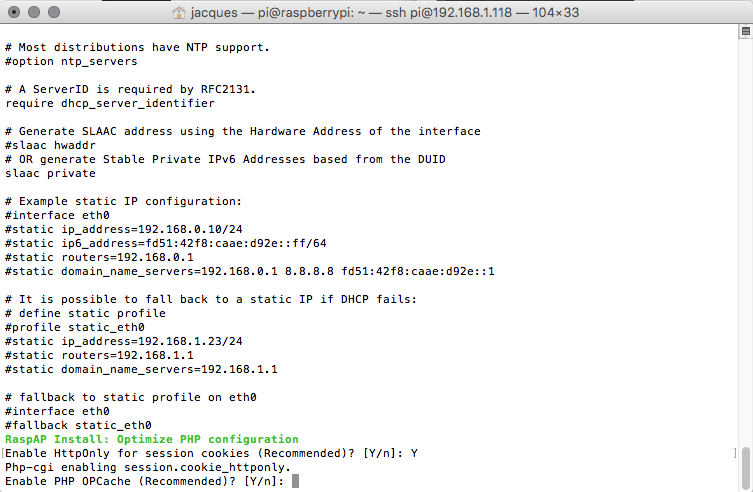
also confirm enabling PHP OPCache by typing Y
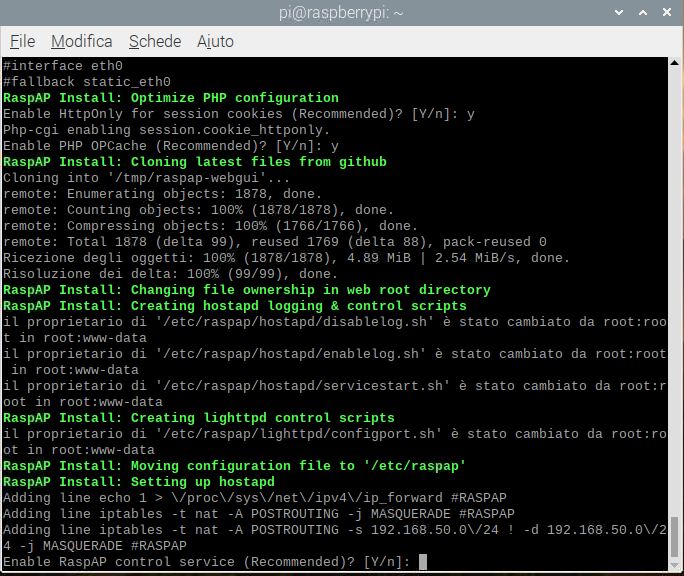
confirm enabling the RaspAP service by typing Y
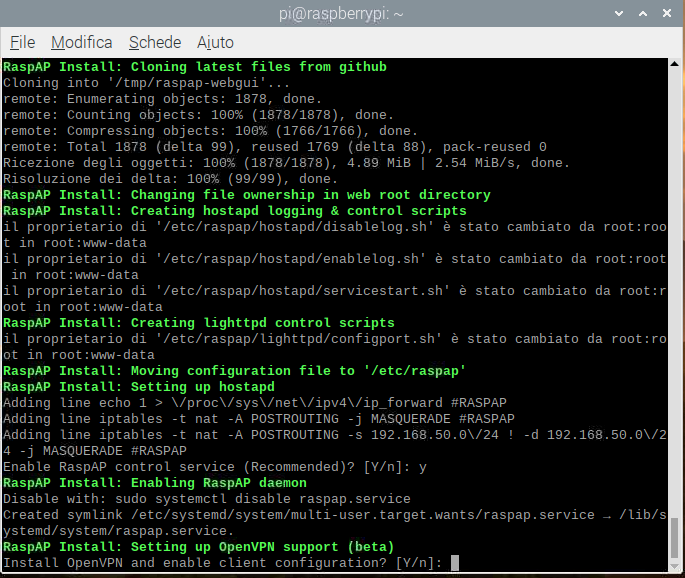
as for the OpenVPN service, you can type N if you don’t need it.
Once this step is complete, restart the Raspberry Pi with the command:
sudo reboot now
After the reboot, the wireless network card will be configured as an access point with the following parameters:
- IP address: 10.3.141.1
- Username: admin
- Password: secret
- DHCP range: 10.3.141.50 to 10.3.141.254
- SSID (Wi-Fi network name): raspi-webgui
- WPA key: ChangeMe
Enjoy!
