Observium is an auto-discovering network monitoring platform that supports a wide range of devices, platforms and operating systems, including Cisco, Windows, Linux, HP, Juniper, Dell, FreeBSD, Brocade, NetScaler, NetApp and many more. Observium focuses on providing a beautiful and powerful yet simple and intuitive interface to the health and status of your network.
Professionally developed and maintained by a team of experienced network engineers and systems administrators, Observium is a platform designed and built by its users.
The Observium Community Edition is available free of charge to everyone and receives updates and new features twice a year.
With that said, in this article I will describe how to install it as a Docker container on a Raspberry Pi. The prerequisite, of course, is a Raspberry Pi with Docker and Docker Compose installed.
Connect to your Raspberry Pi via SSH, go to your home folder (/home/pi/) and create a folder that will hold the data (database, logs and data)
mkdir docker-observium
cd docker-observium
mkdir log data rrd
Still inside this folder, create the text file with the parameters docker-compose will use to create the container, so type:
sudo nano docker-compose.yml
and paste the following into it:
# Docker compose file for Observium

version: '3'

services:
  observiumdb:
       image: jsurf/rpi-mariadb:latest
       environment:
         - MYSQL_ROOT_PASSWORD=R00Tpassw0rd
         - MYSQL_USER=observium
         - MYSQL_PASSWORD=0B5passw0rd
         - MYSQL_DATABASE=observium
         - TZ=Europe/Rome
       volumes:
         - ./data:/var/lib/mysql
       networks:
         - back-tier
       restart: always

  observiumap:
       image: mbixtech/arm32v7-observium:latest
       environment:
         - OBSERVIUM_ADMIN_USER=admin
         - OBSERVIUM_ADMIN_PASS=AdminWebPass
         - OBSERVIUM_DB_HOST=observiumdb
         - OBSERVIUM_DB_NAME=observium
         - OBSERVIUM_DB_USER=observium
         - OBSERVIUM_DB_PASS=0B5passw0rd
         - OBSERVIUM_BASE_URL=http://192.168.1.100:8080
         - TZ=Europe/Rome
       volumes:
         - ./logs:/opt/observium/logs
         - ./rrd:/opt/observium/rrd
       networks:
         - back-tier
       ports:
         - "8080:80"
       restart: always
       depends_on:
         - observiumdb

networks:
  back-tier:
      driver: bridge
P.S. Replace the IP address on line 28 with your Raspberry Pi’s IP address (if you have set it as static), or enter its hostname.
Once you have finished configuring the file, close it by pressing CTRL+X, then type Y (or S, depending on your system language) and finally press ENTER to confirm.
Now start docker-compose by typing:
docker-compose up -d
This command will download and install the required containers. Once complete, open a web page on a computer connected to the same network as the Raspberry Pi and type your Raspberry Pi’s IP address followed by port 8080 in the address bar, for example http://192.168.1.100:8080, and you will be taken to the following page:
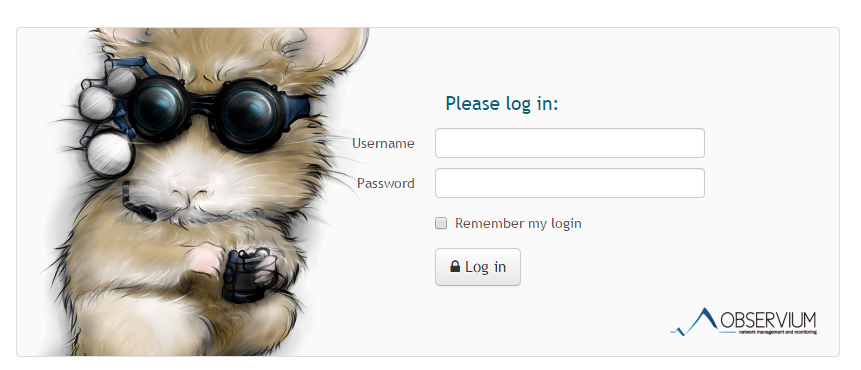
You can now log in with the following credentials:
Admin
AdminWebPass
Enjoy!

Update 05/05/2025
to update the container (observiumapp) to the latest version,
run the following commands via SSH:
access the container with the following command:
docker exec -it observium-observiumap-1 /bin/bash
then move to the /opt folder
cd /opt
download the latest version of Observium
wget -Oobservium-community-latest.tar.gz https://www.observium.org/observium-community-latest.tar.gz
extract the package you just downloaded
tar zxvf observium-community-latest.tar.gz
update the database schema
cd observium
./discovery.php -u