SplitPro is an open-source, self-hosted alternative to Splitwise, designed for tracking and splitting expenses with friends, flatmates or family without handing your data over to third-party services. The project is fully open source, built with Next.js, and can be installed very easily using Docker.
Feature overview:
- Individual (with one friend) or group expense management
- Several ways to split: equally, by percentage, by shares, by exact amount, manual adjustments and settlements
- Categories, multiple currencies, dates and attachments (receipts) for each expense
- Support for negative expenses, useful for refunds and corrections
- PWA app, installable on smartphones, with push notification support
- Activity feed, including edits and deletions
- Detailed balances, both per person and per group
- Automatic currency conversion
- Import friends and groups from Splitwise
- Recurring expenses (requires the Postgres
pg_cronextension) - Authentication via email (magic link), Google OAuth or an OIDC provider (Authentik, Keycloak, etc.)
You can find more information here (official website) or here (the project’s GitHub repository).
With that said, to install SplitPro as a Docker container you will of course need:
- A Raspberry Pi (or any Linux host/NAS);
- Docker and Docker Compose installed (here is a guide to installing it on a Raspberry Pi);
- A DDNS hostname or a public IP address (for remote access);
With that said, create a folder that will contain the compose.yml file needed to create and configure our containers.
mkdir splitprocd splitpronano compose.yml
and enter the following (the official configuration recommended by the project, with Postgres already set up for recurring expenses thanks to pg_cron):
name: split-pro-prod

services:
  postgres:
    image: ossapps/postgres:17.7-trixie
    container_name: ${POSTGRES_CONTAINER_NAME:-splitpro-db}
    restart: always
    environment:
      - POSTGRES_USER=${POSTGRES_USER:?err}
      - POSTGRES_PASSWORD=${POSTGRES_PASSWORD:?err}
      - POSTGRES_DB=${POSTGRES_DB:?err}
      - POSTGRES_PORT=${POSTGRES_PORT:-5432}
    healthcheck:
      test: ['CMD-SHELL', 'pg_isready -U ${POSTGRES_USER} -d ${POSTGRES_DB}']
      interval: 10s
      timeout: 5s
      retries: 5
    command: >
      postgres
      -c shared_preload_libraries=pg_cron
      -c cron.database_name=${POSTGRES_DB:-splitpro}
      -c cron.timezone=UTC
    env_file: .env
    volumes:
      - database:/var/lib/postgresql/data

  splitpro:
    image: ossapps/splitpro:latest
    container_name: splitpro
    restart: always
    ports:
      - ${PORT:-3000}:${PORT:-3000}
    environment:
      - PORT=${PORT:-3000}
      # - HOSTNAME=0.0.0.0 # da scommentare se si utilizza un reverse proxy (es. NGINX Proxy Manager) tramite rete Docker interna
    env_file: .env
    depends_on:
      postgres:
        condition: service_healthy
    volumes:
      - uploads:/app/uploads

volumes:
  database:
  uploads:
Once you have pasted the text, close the file by pressing CTRL+X, then type Y (or S, depending on your system language) and finally press ENTER to confirm.
As you can see, the compose.yml file refers to several environment variables that we will define in a .env file, so let’s create it:
nano .env
and enter the following, replacing the highlighted values with your own:
# Nome del container e credenziali del database Postgres
POSTGRES_CONTAINER_NAME=splitpro-db
POSTGRES_USER=postgres
POSTGRES_PASSWORD=una-password-sicura
POSTGRES_DB=splitpro
POSTGRES_PORT=5432
DATABASE_URL=postgresql://${POSTGRES_USER}:${POSTGRES_PASSWORD}@splitpro-db:5432/${POSTGRES_DB}

# Porta sulla quale verrà pubblicata l'applicazione
PORT=3000

# Next Auth: chiave segreta utilizzata per firmare le sessioni
NEXTAUTH_SECRET=chiave-generata-con-openssl
NEXTAUTH_URL=http://IP-DEL-TUO-SERVER:3000

# Inviti e registrazione
ENABLE_SENDING_INVITES=false
DISABLE_EMAIL_SIGNUP=false
The NEXTAUTH_SECRET variable must be a secure random string: you can easily generate one from the terminal with the command:
openssl rand -base64 32
The NEXTAUTH_URL value, on the other hand, must match the address (IP or domain) you will use to reach SplitPro, including the port if you are not using a reverse proxy.
Configuring authentication
SplitPro does not offer a traditional username and password login: you need to configure at least one of the following sign-in methods by adding the relevant variables to the .env file:
- Email (magic link), via an SMTP server:
FROM_EMAIL,EMAIL_SERVER_HOST,EMAIL_SERVER_PORT,EMAIL_SERVER_USER,EMAIL_SERVER_PASSWORD - Google OAuth:
GOOGLE_CLIENT_ID,GOOGLE_CLIENT_SECRET - OIDC (Authentik, Keycloak or a generic provider):
AUTHENTIK_ID/AUTHENTIK_SECRET/AUTHENTIK_ISSUER, or the equivalent variables for Keycloak or a custom OIDC provider
Another optional feature is push notifications (required for the PWA app): to enable them, generate a pair of VAPID keys with the command
npx web-push generate-vapid-keys --json
and enter the resulting values in the WEB_PUSH_PUBLIC_KEY, WEB_PUSH_PRIVATE_KEY and WEB_PUSH_EMAIL variables (the latter is simply a contact email address required by the Web Push standard).
All the optional variables (including those for bank account integration via GoCardless or Plaid) are listed and documented in the .env.example file in the official repository.
Once you have finished editing the .env file, close it by pressing CTRL+X, then type Y (or S, depending on your system language) and finally press ENTER to confirm.
Now all that’s left is to bring up the containers with the following command:
docker compose up -d
The command downloads the official ossapps/postgres and ossapps/splitpro images and starts the two containers: thanks to the service_healthy condition set in compose.yml, SplitPro automatically waits for the Postgres database to be ready before starting.
You can check that everything has started correctly by viewing the logs with:
docker compose logs -f splitpro
wait a few seconds, then open your preferred web browser and type the following in the address bar:
http://[IP-DEL-TUO-SERVER]:3000
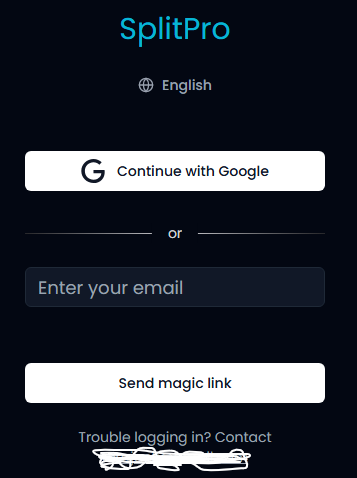
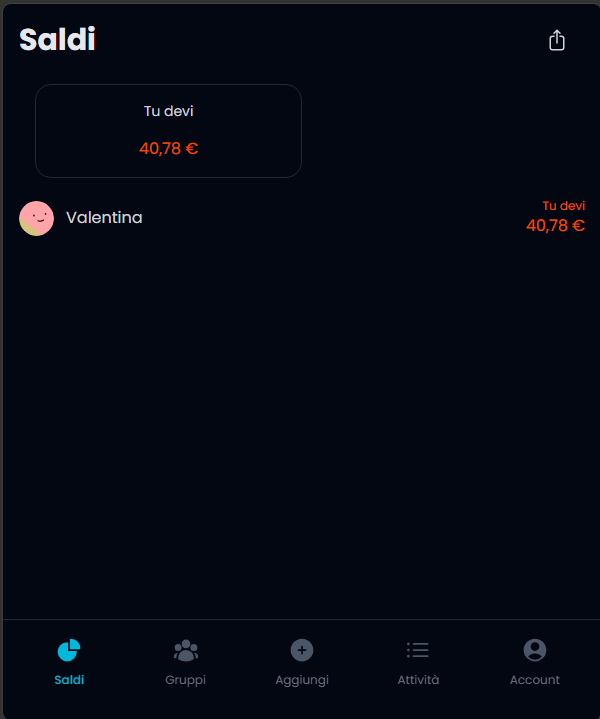
then sign in using the authentication method you configured earlier (email or Google), creating your first account.
To make this service accessible from outside your network, you need to forward, for example, external TCP port 443 to your server’s (LAN) IP on TCP port 3000. In addition, if your ISP (Internet Service Provider) gives you a dynamic IP, make sure you have configured DDNS (here is a guide to enabling and configuring it with DuckDNS), or that you have a static IP address with a registered domain name.
To expose SplitPro over HTTPS, I recommend installing and configuring NGINX Proxy Manager (here is a guide to installing it as a Docker container), connecting SplitPro to the same Docker network as the proxy and remembering to uncomment the HOSTNAME=0.0.0.0 line in compose.yml so that the service is also reachable through Docker’s internal network.
Enjoy!
