OpenMediaVault is Debian-based software that can turn any PC into a NAS (Network Attached Storage), and in this article I will describe the steps to install it on a Raspberry Pi.
Using this software, you can easily turn your Raspberry Pi into a powerful NAS with built-in support for a variety of different services.
Without any special procedures, OpenMediaVault already supports (S)FTP, SMB/CIFS, DAAP media server and RSync, and also has built-in support for Docker containers.
With OpenMediaVault it is certainly much easier to manage and use its various built-in services (such as SMB and/or FTP) than to try to set up each individual service on your Raspberry Pi.
To follow this guide, you will need a Raspberry Pi 2B (or later). Personally, I recommend using a Raspberry Pi 4, as it has a faster network adapter and two USB 3 ports.
Before running the commands to install OpenMediaVault, update the existing packages by running the following command:
sudo apt-get update && sudo apt-get upgrade -y
Once the Raspberry Pi update has completed, run the following command, which first downloads the OpenMediaVault installation script and then runs it automatically.
This script installs and configures all the components needed to run OpenMediaVault on the Raspberry Pi.
You can check the contents of this script directly in the OpenMediaVault Plugin Developers’ installation script repository.
wget -O - https://raw.githubusercontent.com/OpenMediaVault-Plugin-Developers/installScript/master/install | sudo bash
This process may take some time, but don’t worry: it will install everything OpenMediaVault needs to work properly.
Once the installation process has completed, I strongly recommend restarting the Raspberry Pi with the following command:
sudo reboot now
To access the OpenMediaVault web GUI, you need to know your Raspberry Pi’s IP address. If you don’t know it, you can run the following command to display it:
hostname -I
With your Raspberry Pi’s local IP address, go to the following address in your favourite web browser.
http://[IP-DEL-TUO-RASPBERRYPI]
Once the OpenMediaVault web interface has loaded, you will be asked to log in to proceed.
The default username is admin and the default password is openmediavault.
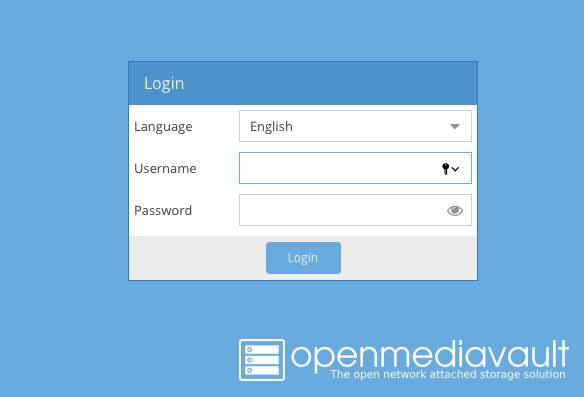
Once logged in, you will be greeted by the OpenMediaVault dashboard.
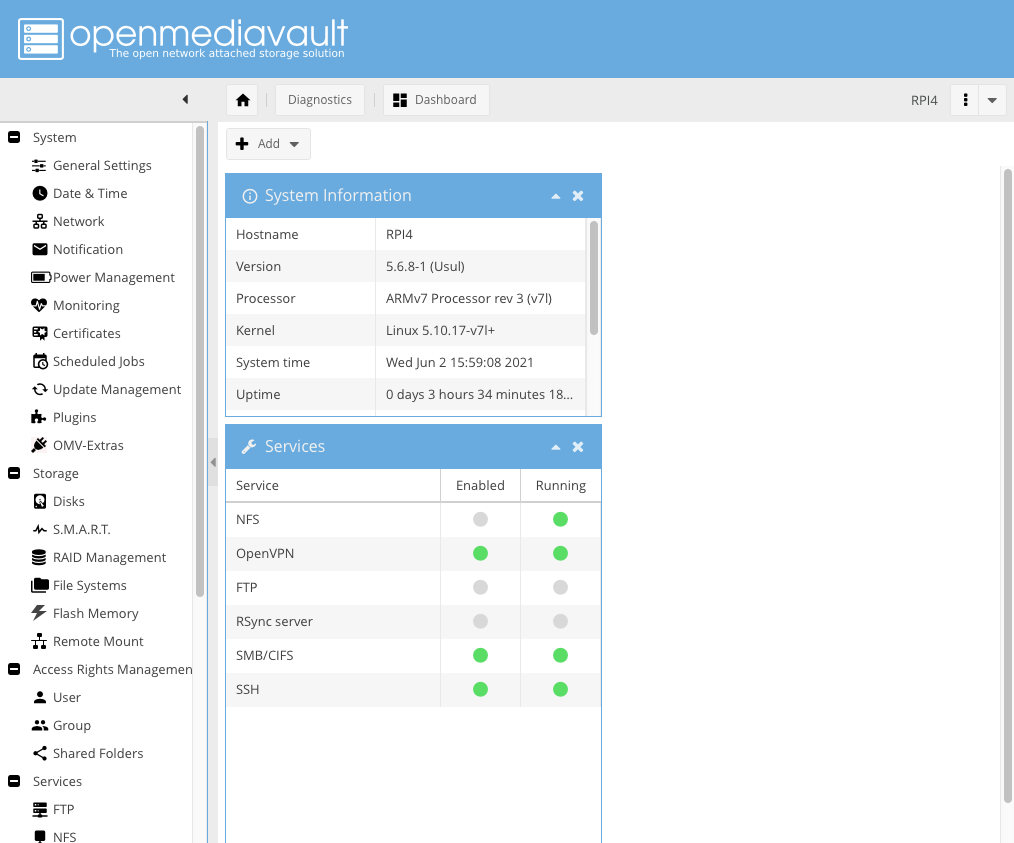
From this dashboard you can control various aspects of OpenMediaVault.
One of the first things to do is change the password for your OpenMediaVault admin account. Leaving the default could be a security hole and would allow anyone to access your server.
To change the password, click the “General Settings” option in the left-hand menu.
In the “General Settings” menu, simply click the “Web Administrator Password” tab and, in this tab, enter the password you want to use for your account.
Once you have entered and confirmed the password, click the “Save” button to store the new password.
Enjoy!
