The Mac OS X login screen, which is normally shown when the system starts (you can disable it by enabling automatic login), not only lets you enter your credentials and shows the Sleep, Restart and Shut Down buttons, but also hides a number of secrets.
The developers at Twocanoes have published a comprehensive list on their website of features you can access from the login screen, all of which also work with macOS 10.14 Mojave. We present them below.
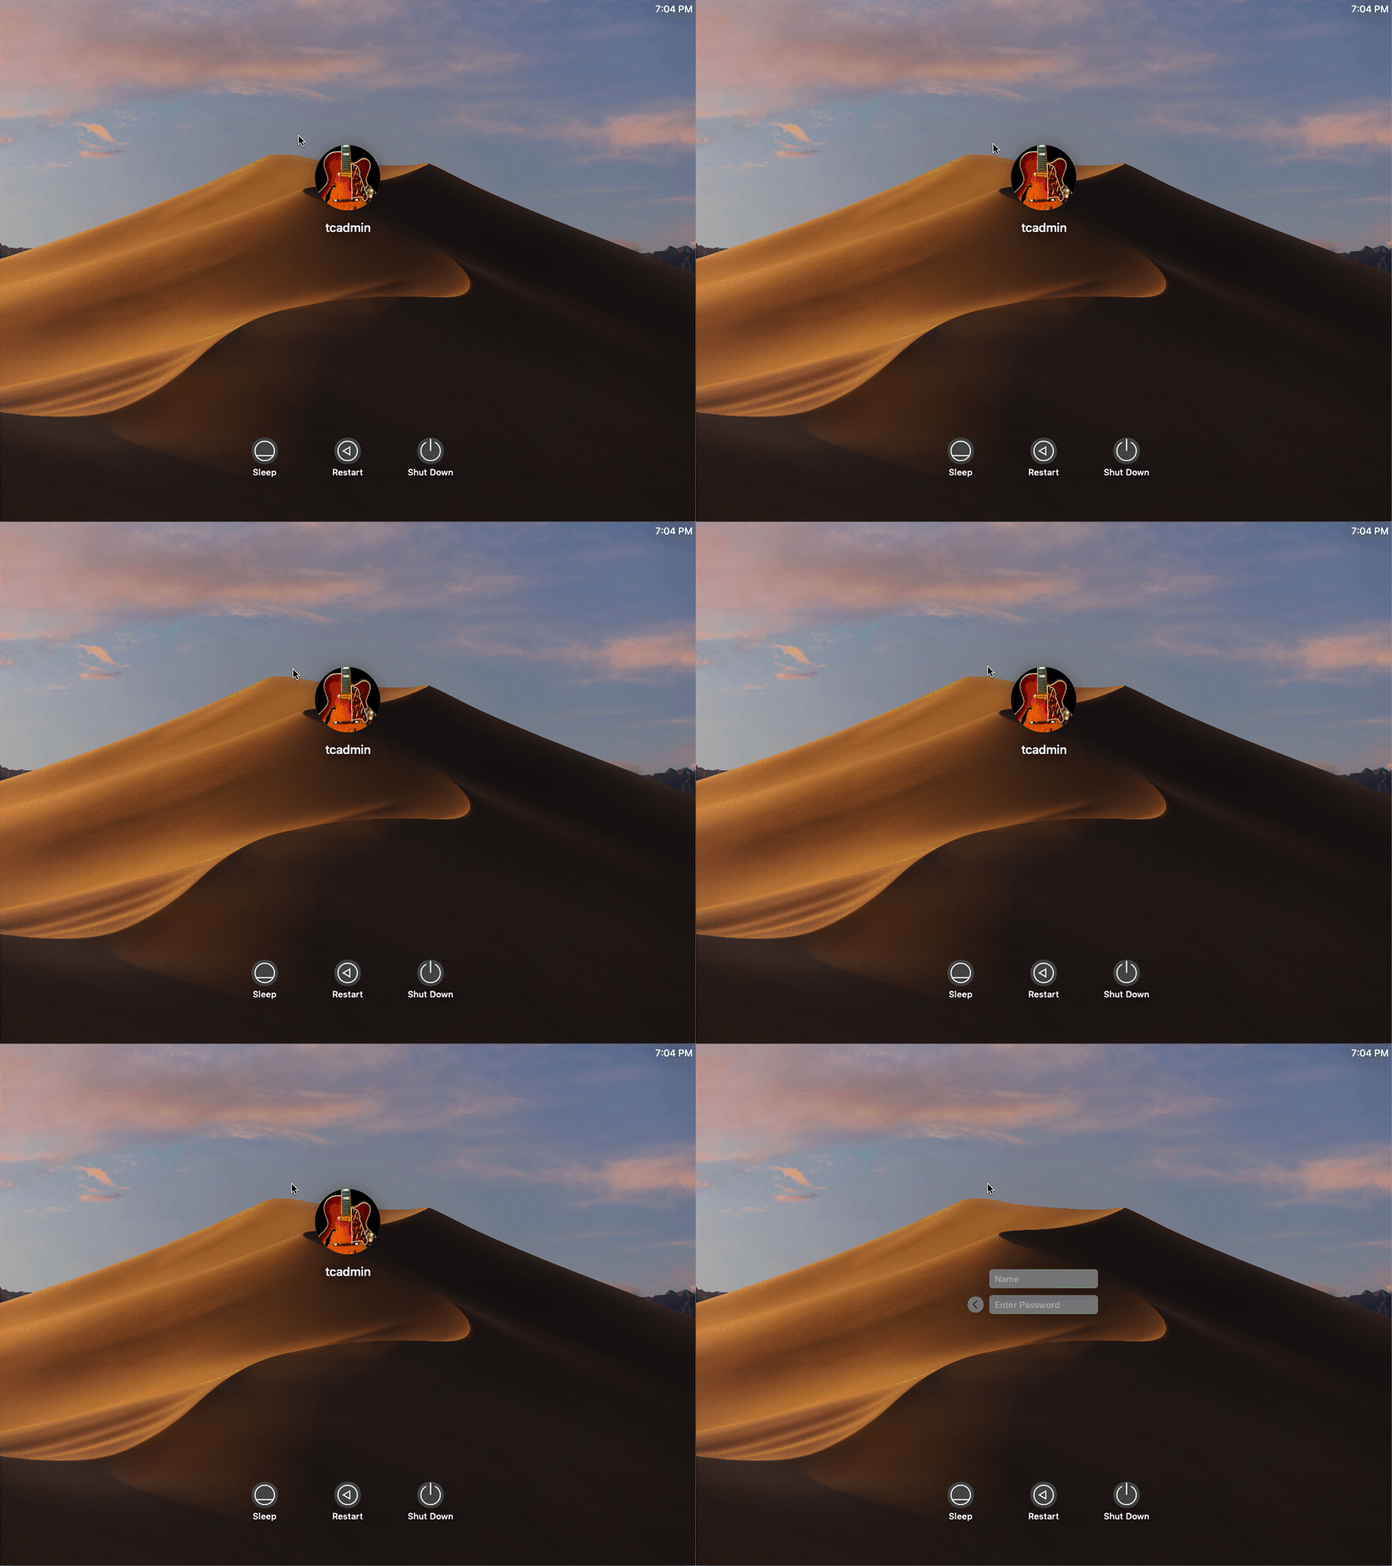
Switch between user icons and username/password fields
By default, macOS shows a login screen that lists users with their icons and asks for a password. By pressing Option-Enter you can instantly switch between the icon-and-password view and manually entering a username and password.
Secret commands
Instead of entering a username manually, you can type secret commands in the login window (they all begin with the “>” character).
To power off the Mac, just type:>power
To restart the Mac:>restart
To shut down the computer:>shutdown
To put it to sleep:>sleep
To return to the login window>exit
Display useful information before login
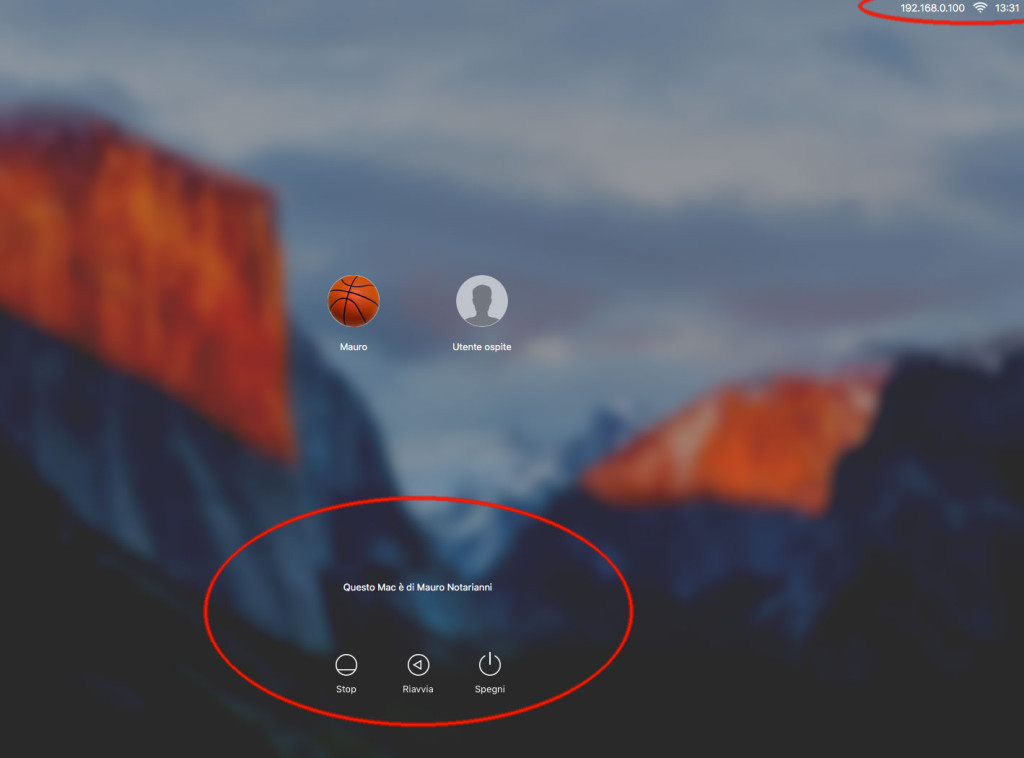
Apart from choosing a user, typing a password and pressing the Sleep, Restart and Shut Down buttons, Mac OS X does not offer a way to display other information. A little trick lets you display some details in the login window that may be useful in certain cases. For example, you can display custom text by opening Terminal and typing the following command (all on one line), followed by Return and the administrator password.
sudo defaults write /Library/Preferences/com.apple.loginwindow LoginwindowText "For support, call 0212345678"
Of course, you can put anything you like in place of the text in quotation marks (e.g. “This computer belongs to John Smith”, useful in case of theft, or, in an office with several computers, the name, phone number or email address of the IT manager).
To restore the default setting, simply type:
sudo defaults delete /Library/Preferences/com.apple.loginwindow LoginwindowText
Show the IP address, macOS version and computer name
Along the same lines as the previous trick, you can show details such as the IP address, the installed version of OS X and the computer name by clicking repeatedly at the top right (on the clock), after typing the following command in Terminal:
sudo defaults write /Library/Preferences/com.apple.loginwindow AdminHostInfo HostName
To restore the default setting, simply type:
sudo defaults delete /Library/Preferences/com.apple.loginwindow AdminHostInfo
or, alternatively, delete the “com.apple.loginwindow” file from the /Library/Preferences folder.

Log in with a PIN instead of a password
Mac OS X has built-in support for various smart cards and for the YubiKey (a USB key that is a valid alternative to two-factor authentication mechanisms). If you use a YubiKey, you can pair it to authenticate your macOS user account. The next time you log in, simply insert the key and log in using your PIN.

Show the login window with FileVault encryption enabled
If you have enabled the “FileVault” option in the “Security & Privacy” preferences of Mac OS X, you need to enter your password at startup to unlock the disk, and the login window does not appear. Instead of logging in automatically, you can show the login window by typing this command in Terminal:
sudo defaults write /Library/Preferences/com.apple.loginwindow DisableFDEAutologin -bool YES
Hide some buttons
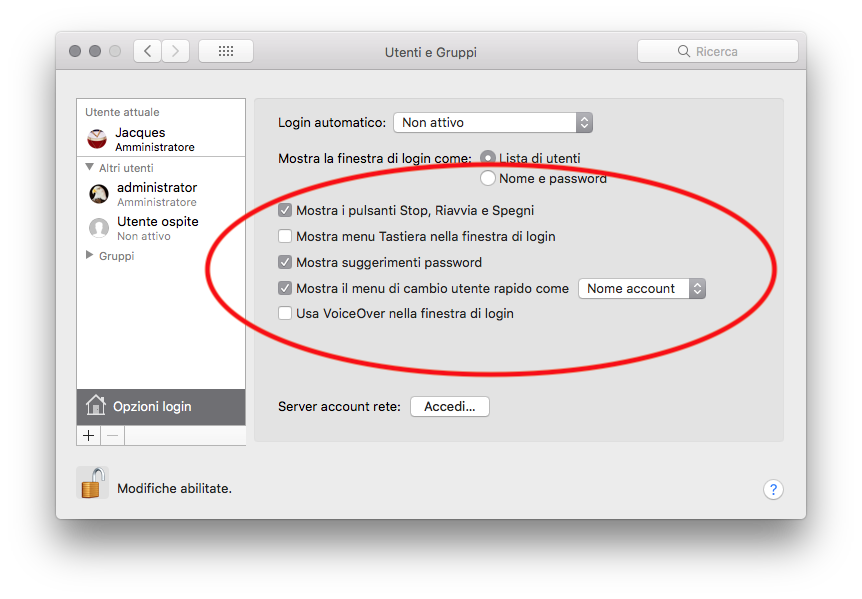
By selecting the “Users & Groups” section in System Preferences, you can click “Login Options”, unlock the settings (click the padlock) and decide whether or not to log in automatically, display the login window as a list of users or as name and password fields, and whether or not to show the Sleep, Restart and Shut Down buttons. If you only want to disable some buttons, simply use the following Terminal commands:
sudo defaults write /Library/Preferences/com.apple.loginwindow ShutDownDisabled -bool true sudo defaults write /Library/Preferences/com.apple.loginwindow RestartDisabled -bool true sudo defaults write /Library/Preferences/com.apple.loginwindow SleepDisabled -bool true
To restore the buttons:
sudo defaults write /Library/Preferences/com.apple.loginwindow ShutDownDisabled -bool false sudo defaults write /Library/Preferences/com.apple.loginwindow RestartDisabled -bool false sudo defaults write /Library/Preferences/com.apple.loginwindow SleepDisabled -bool false
Run a script
You can automatically run a script at every login by running a command in Terminal and specifying the script’s path.
sudo defaults write com.apple.loginwindow LoginHook /path/to/script
For example, you can use Zapier (a web app that lets you automate one application based on events that happen in other applications) to send a notification to an iOS device every time someone logs in to your computer.
In the following example, $1 is the short name of the user logging in, and $HOSTNAME is the computer name.
#!/bin/sh curl “https://hooks.zapier.com/hooks/catch/8675/309/?name=$1&computer=$HOSTNAME”
After running this command, every time someone logs in to the computer, a notification will be shown on your iOS device.
Enable/disable the keyboard
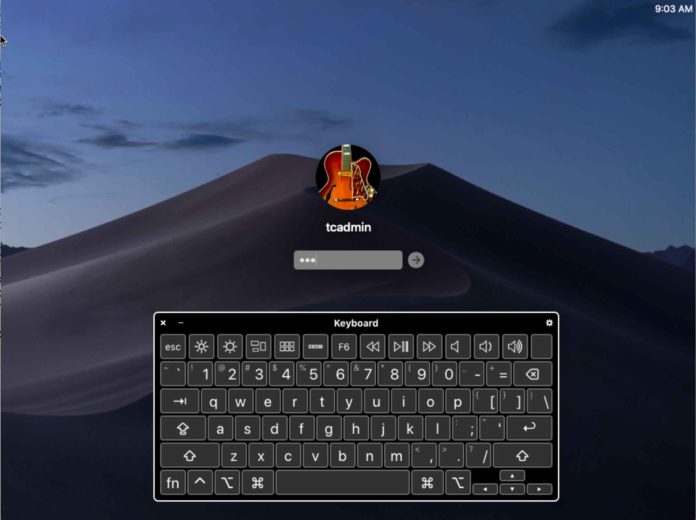
If you need to show Mac OS X’s virtual keyboard in the login window, you can enable it by opening System Preferences, selecting “Users & Groups”, clicking “Login Options”, unlocking the settings (click the padlock) and choosing the “Show Input menu in login window” option.
Acceptable use policy and other notices in the login window
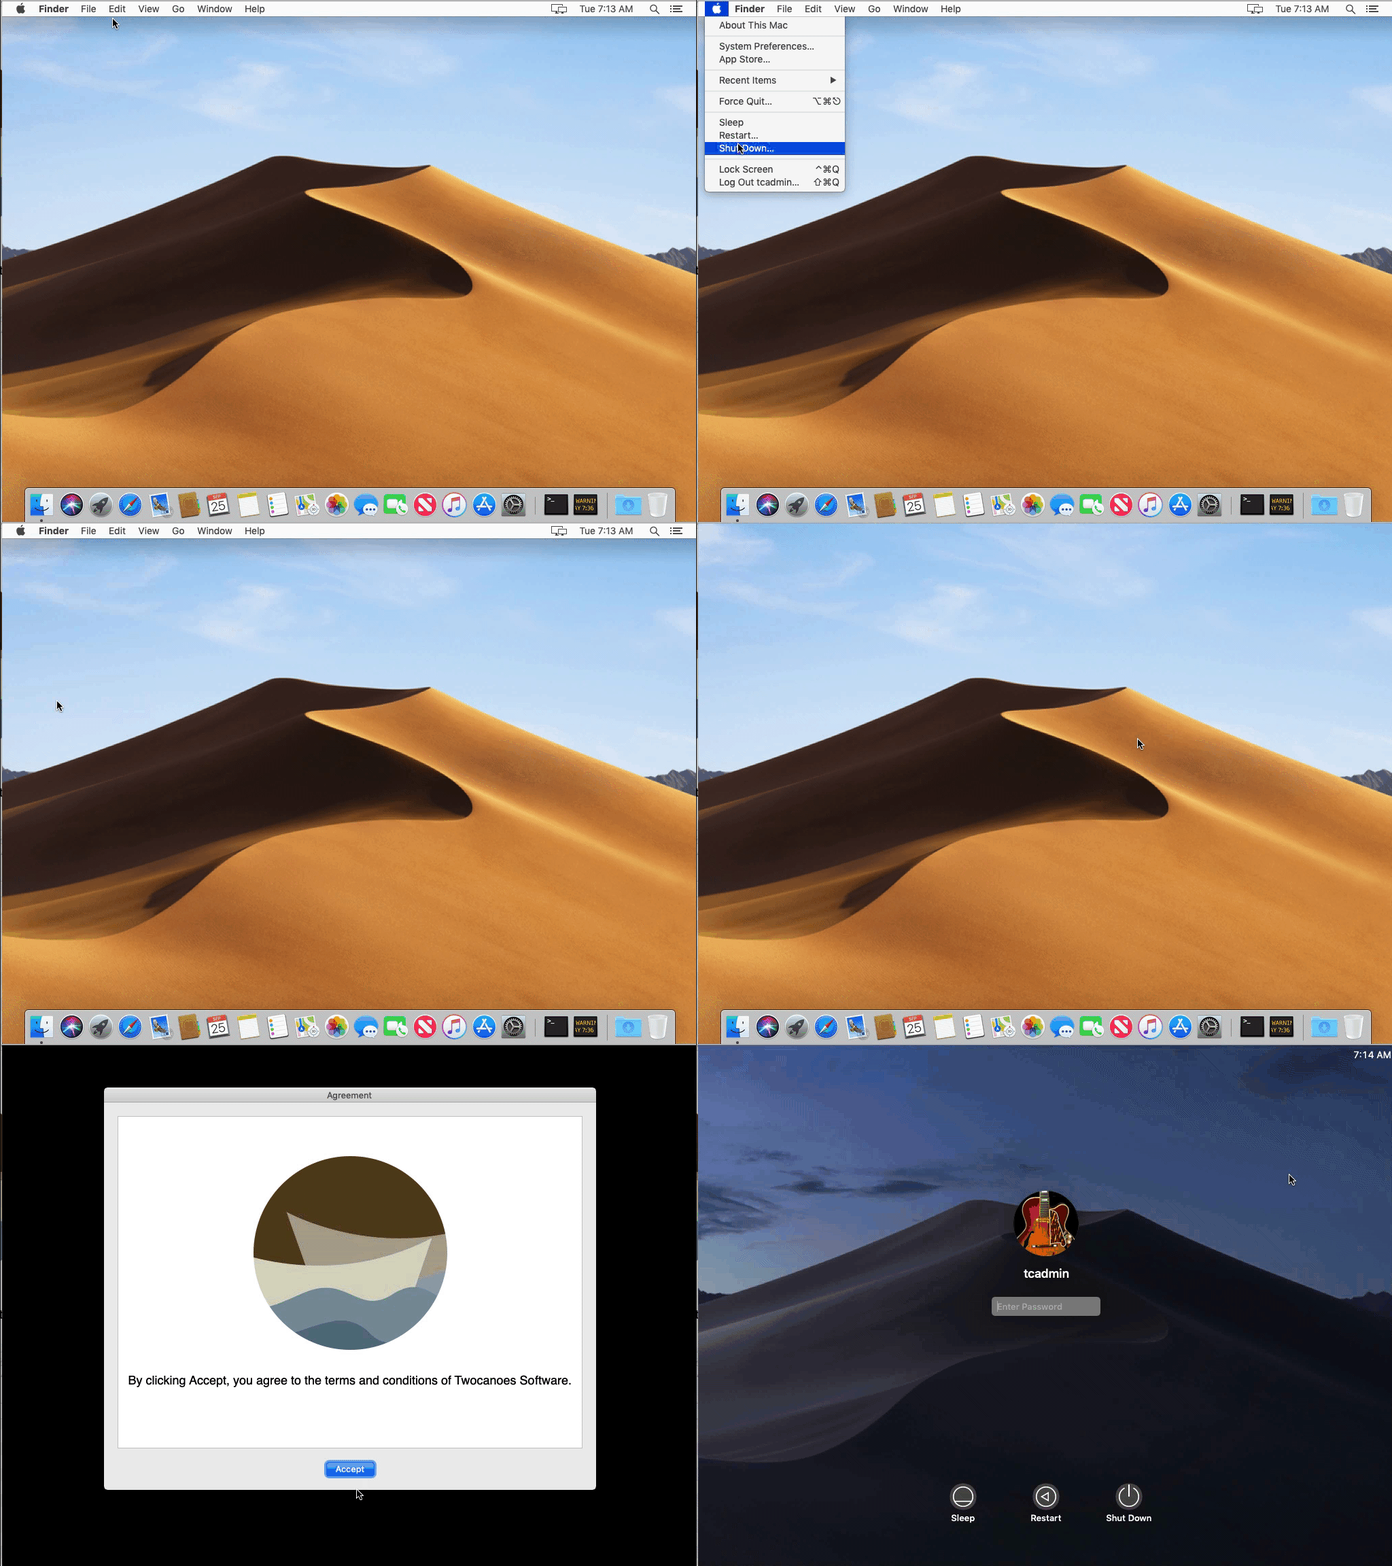
You can set up custom notices to be displayed in the login window on a Mac. A notice of this kind is displayed in the login window and requires the user to acknowledge it before proceeding.
This feature lets you set up a notice in the login window to display a message, even a long one, that must be accepted before the user can log in. This type of notice can be useful when users need to accept terms or conditions (for example, an acceptable use policy) before they can use the computer. Here’s how to create a notice
- Create a plain text (.txt) or RTF (.rtf) document containing the notice.
- Choose File > Save, specifying “PolicyBanner” (without quotation marks) as the document name.
- Copy the PolicyBanner file to the /Library/Security/ folder.
- The next time the computer restarts, the notice is displayed at the point where the login screen normally appears.
If FileVault is enabled, the notice is displayed after the first user logs in, before the desktop appears (the first login is used to unlock the startup disk).
Enjoy!
