In this short guide we will install the Arduino IDE on a Raspberry Pi.
To do this we will need to use the Raspberry Pi’s graphical interface, so you can either connect a monitor, keyboard and mouse and work directly on the microcomputer, or alternatively use remote desktop (VNC) and access it remotely from another workstation.
With that said, launch the web browser on the Raspberry Pi and go to www.arduino.cc
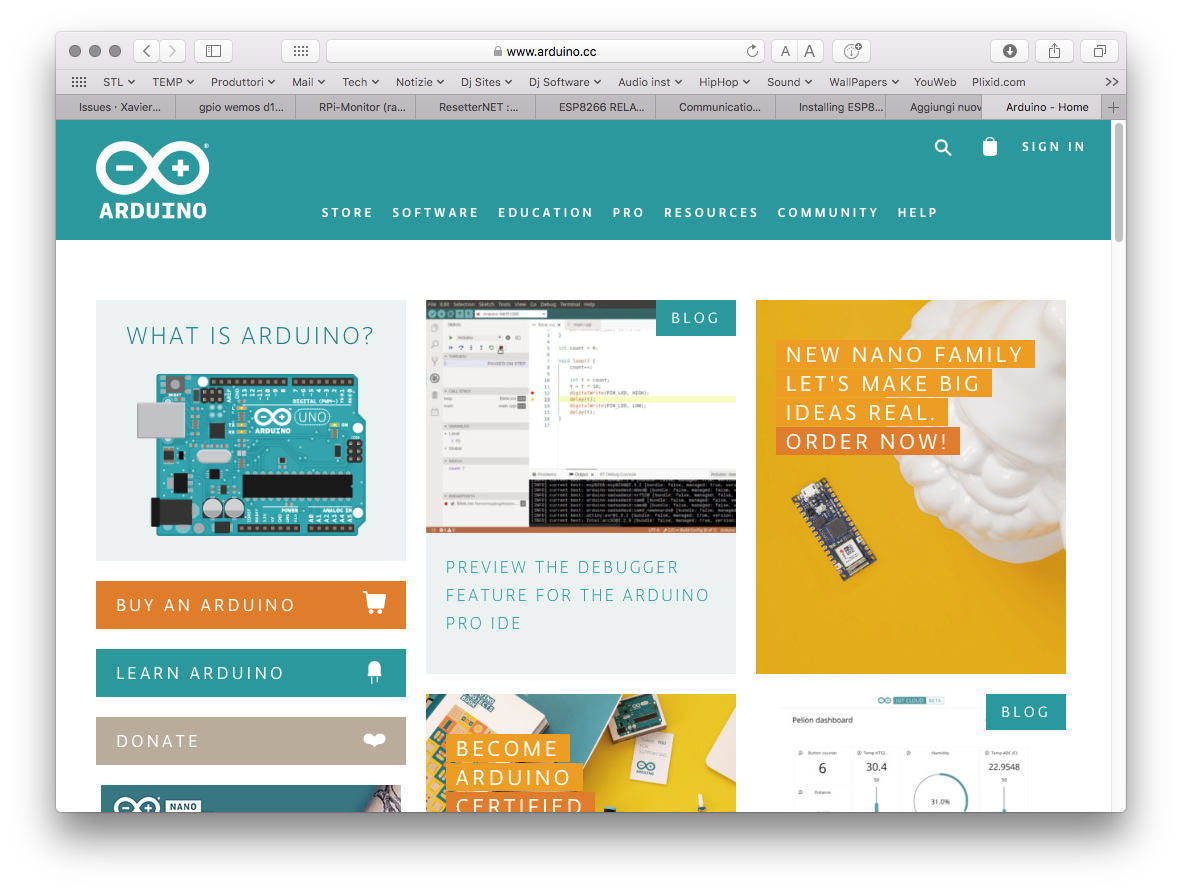
Once the web page has loaded, click “Software” –> “Downloads” and scroll down the page until you find the Arduino IDE download section.
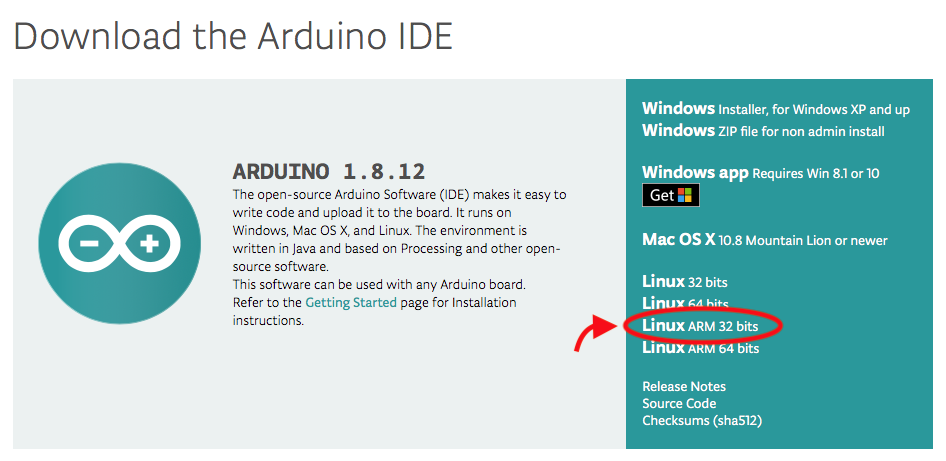
Now click Linux ARM 32 bits and the compressed file will be downloaded to the Downloads folder on the Raspberry Pi (home/pi/Downloads).
When the download has finished, open a File Manager window and go to the Downloads folder. Here, simply right-click the compressed Arduino installer file (which you have just downloaded), select “Extract Here” from the drop-down menu and wait for the operation to complete.
Once the files have been extracted, open a Terminal window and move to the folder you just extracted (at the time of writing, the available version of the Arduino IDE is 1.8.12; check which version you downloaded)
cd /home/pi/Downloads/arduino-1.8.12
and install the program with the command
sudo ./install.sh
The installation itself should not take long, and once it is complete the Arduino IDE will be installed on your Raspberry Pi.
You will find the Arduino IDE in the Programming section of the Raspberry Pi’s start menu.
Enjoy!
