In this guide we will install an Apple AirPlay (audio) service on a Raspberry Pi. I recommend using a Raspberry Pi 2, 3 or 4, which already have an audio jack; alternatively, if you decide to use a Raspberry Pi Zero W, you will need an external USB sound card to listen to audio. Last but not least, you will need speakers to connect to the Raspberry Pi.
To start, connect your speakers to the Raspberry Pi;
Update the Raspberry Pi with the usual commands:
sudo apt-get update && sudo apt-get upgrade -y
install the following packages
sudo apt-get install autoconf automake avahi-daemon build-essential git libasound2-dev libavahi-client-dev libconfig-dev libdaemon-dev libpopt-dev libssl-dev libtool xmltoman
Clone the shairport repository from GitHub with the following command:
git clone https://github.com/mikebrady/shairport-sync.git
Now let’s install Shairport on the Raspberry Pi,
move into the folder you just cloned from GitHubcd shairport-sync
Build and compile the programautoreconf -i -f./configure --with-alsa --with-avahi --with-ssl=openssl --with-systemd --with-metadatamake
sudo make install
Enable Shairport to start every time the Raspberry Pi boots
sudo systemctl enable shairport-sync
sudo service shairport-sync start
Customising your AirPlay server
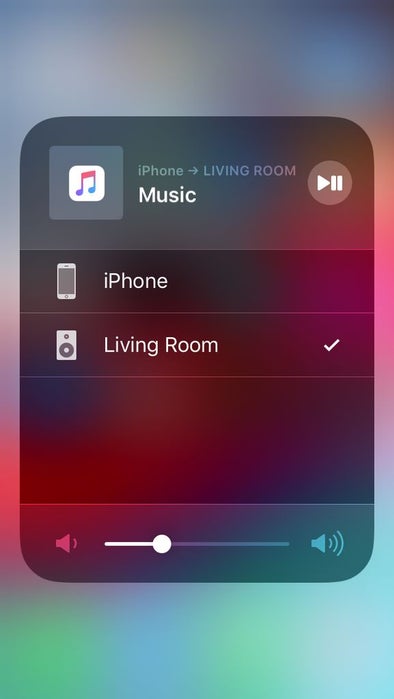
You can change the name of your AirPlay server by editing the ‘shairport-sync.conf‘ file located in ‘/usr/local/etc‘
sudo nano /usr/local/etc/shairport-sync.conf
Remove the two slashes (//) in front of the name variable (where name = “%H”)
Replace “%H” with a name of your choice (for example “Living Room”)
In the same ‘shairport-sync.conf’ file, you can also set a password for the AirPlay server, along with other settings.
alternatively, if you don’t want to follow this guide and would rather download a ready-to-use AirPlay image for your Raspberry Pi, two software vendors have developed platforms for this: Max2Play and Volumio.
Enjoy!
