ZIP is one of the most widely used compression formats. It is handy for reducing the size of large files that need to be sent, for example, over the internet, and also for making backups while saving space.
Compressed files take up less disk space than uncompressed ones, so compression is useful for backing up data or sending large files, for example by email (within the limits allowed by providers).
Creating a .ZIP archive on a Mac is very easy:
Simply select the file or folder you want and choose the “Compress” option from the Finder’s context menu. The compressed file or folder keeps the name of the original item with the “.zip” extension. To decompress (expand) an item, simply double-click the .zip file.
ZIP archives can contain multiple files and folders and can also be password-protected; this option is not offered by the Finder, but it can be enabled using Terminal. Here’s how to create a compressed ZIP folder and protect it with a password:
1) Create a new folder in the Finder and give it the name you want (e.g. “Test”)
2) Drag the files you want to compress and protect into this folder
3) Open the Terminal application (found in the “Utilities” subfolder of “Applications”)
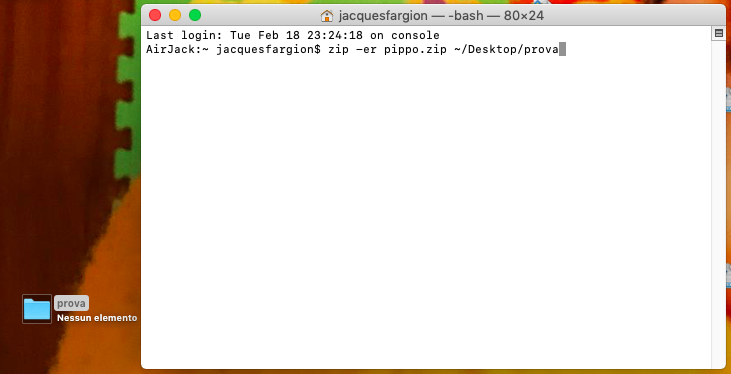
4) In Terminal, type “zip” (without quotation marks), followed by a space, the characters “-er” (again without quotation marks), another space, the name of the final compressed file, another space, and then drag the file or folder to be compressed to the right of the command. After pressing Enter, the system asks twice (the second time for confirmation) for the password to assign to the compressed archive (the one the end user will need to decompress the file). In the screenshot below you can see the command in action compressing the “Test” folder on the desktop.
For example:
zip -er pippo.zip ~/Desktop/prova
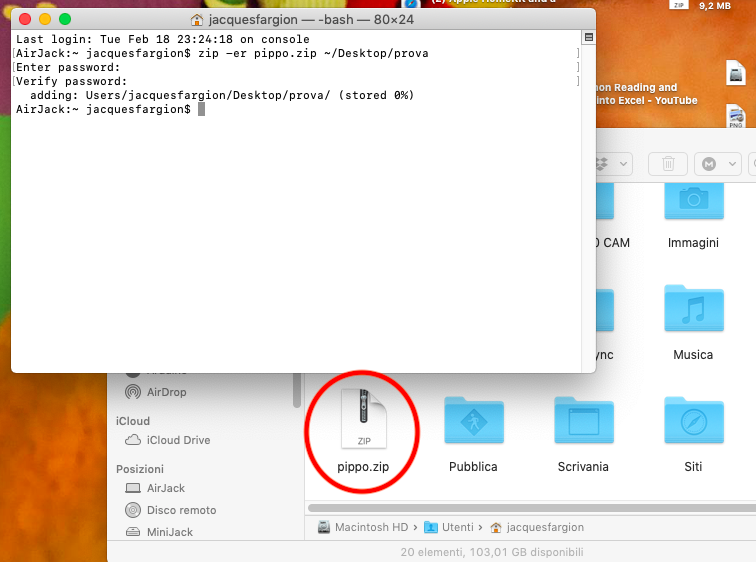
5) If you don’t specify a destination path, archives compressed with the command above are saved in the Mac’s Home folder (the folder with the house icon). To decompress a password-protected ZIP file, you will of course need to enter the password.
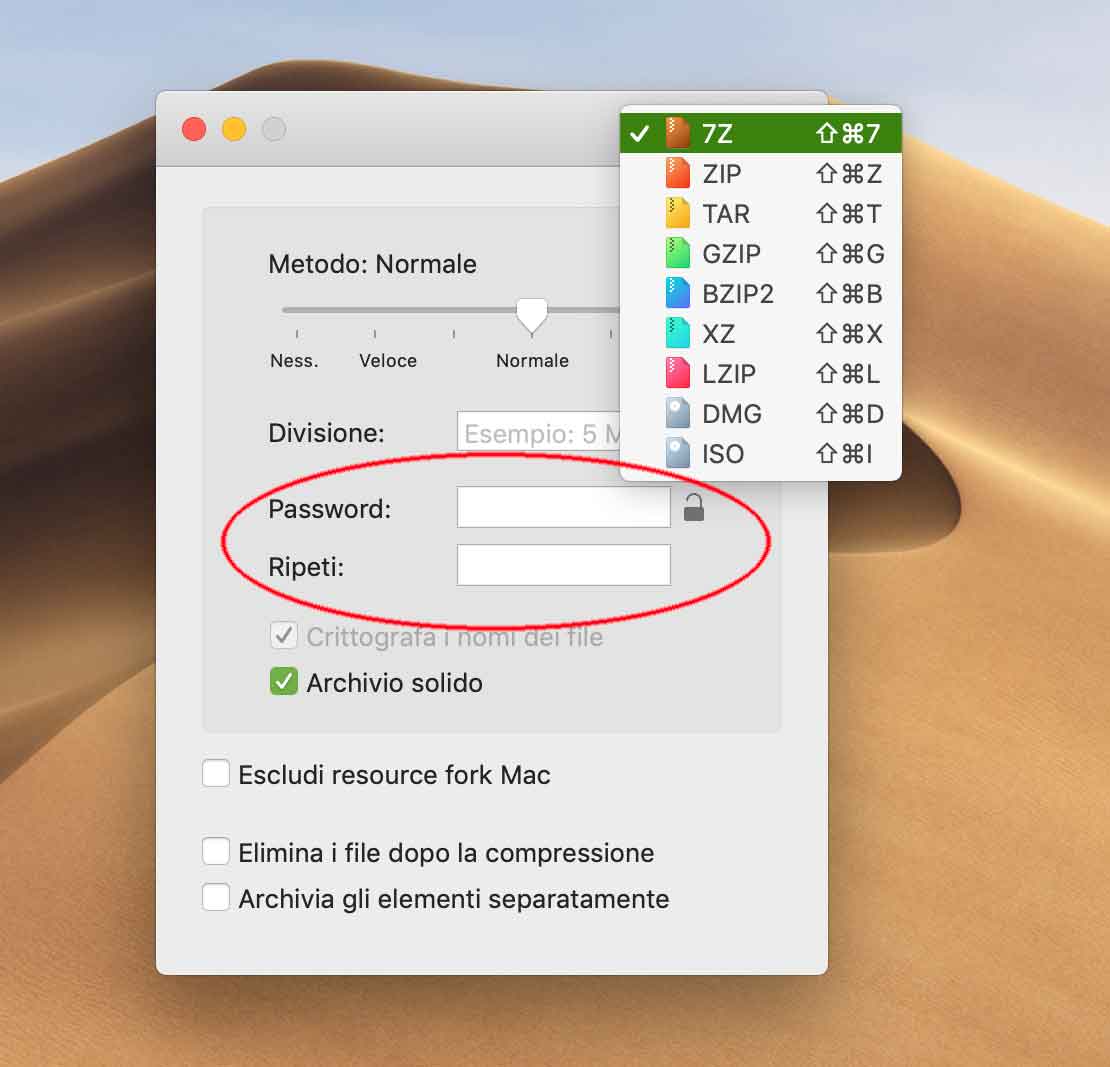
Of course, there are many Mac utilities that let you create password-protected archives very easily, without having to use Terminal. Among them, we recommend Keka, a powerful and easy-to-use file compressor.
Enjoy!
