
Joplin is a free, open-source note-taking and to-do list application, available for desktop (Windows, macOS, Linux), mobile (Android, iOS) and the command line. It supports Markdown notes, end-to-end encryption, attachments and organisation via notebooks and tags.
To sync notes across your devices, Joplin can use various services (Dropbox, OneDrive, WebDAV, the paid Joplin Cloud…) or Joplin Server, an open-source sync server you can host yourself. In this article we will look at how to install and configure it as a Docker container on a Raspberry Pi.
Prerequisites:
- A Raspberry Pi (or any other host) with Docker and Docker Compose installed (here is an installation guide);
- A static LAN IP address for your Raspberry Pi;
- Optional: a domain with DDNS if you want to reach the server from outside your home as well.
Start by creating a dedicated folder that will contain the docker-compose.yml file:
mkdir joplin-server
cd joplin-server
nano docker-compose.yml
and paste the following:
services:
  db:
    image: postgres:17
    restart: unless-stopped
    environment:
      - POSTGRES_USER=joplin
      - POSTGRES_PASSWORD=LA_TUA_PASSWORD
      - POSTGRES_DB=joplin
    volumes:
      - ./data/db:/var/lib/postgresql/data
    networks:
      - joplin_net

  app:
    image: joplin/server:latest
    restart: unless-stopped
    environment:
      - APP_BASE_URL=http://IP_DEL_TUO_RASPBERRY:22300
      - APP_PORT=22300
      - APP_NAME=Nome del tuo server
      - POSTGRES_HOST=db
      - POSTGRES_PORT=5432
      - POSTGRES_DATABASE=joplin
      - POSTGRES_USER=joplin
      - POSTGRES_PASSWORD=LA_TUA_PASSWORD
      - DB_CLIENT=pg
    ports:
      - "22300:22300"
    depends_on:
      - db
    networks:
      - joplin_net

networks:
  joplin_net:
    driver: bridge
Replace the parts in red: the database password (use a strong one, and the same in both places it appears), your Raspberry Pi’s IP and the name you want to give your server. The APP_BASE_URL value is important: it must match the address clients will use to reach the server, so if you later configure a domain with NGINX Proxy Manager, you will need to update it accordingly.
Save the file with CTRL+X, then Y and Enter, and then start the stack:
docker compose up -d
Wait a few seconds for the database to be initialised and the migrations to be applied, then open your browser and type:
http://IP_DEL_TUO_RASPBERRY:22300
and you will see the login screen:
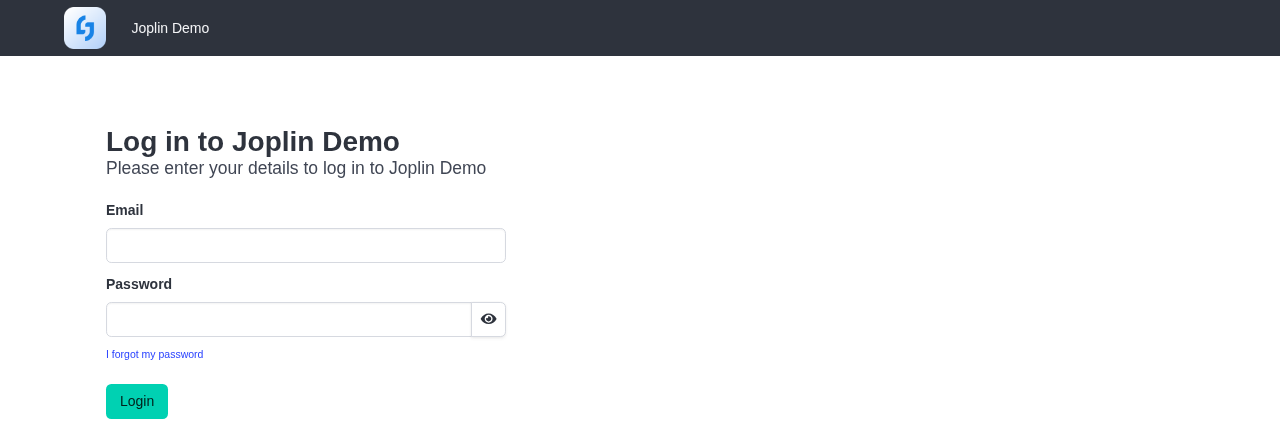
Joplin Server automatically creates a default administrator account with these credentials:
- Email:
admin@localhost - Password:
admin
Log in with these credentials: you will immediately see a warning reminding you that the default password is insecure and must be changed, which we will do shortly.
The admin panel
Once logged in, you will be on the admin dashboard, from which you can manage users, scheduled tasks, queued emails and server status reports:
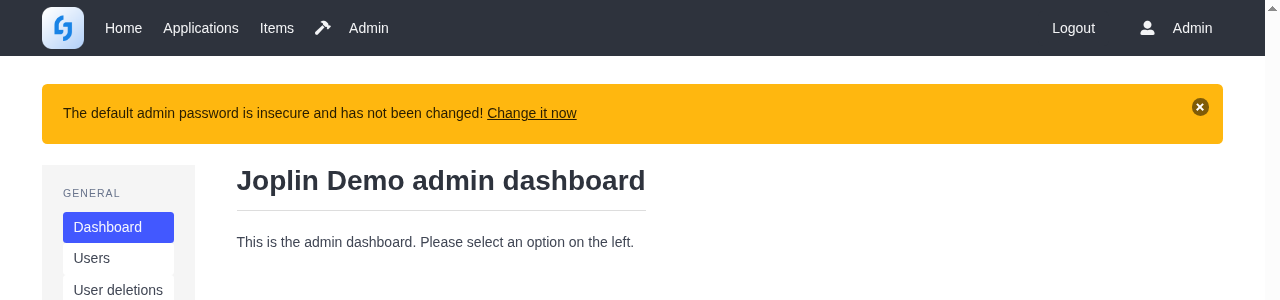
First, change the admin user’s password by clicking the orange warning at the top, or by going to “Users”, selecting your administrator user and setting a new secure password.
Creating users
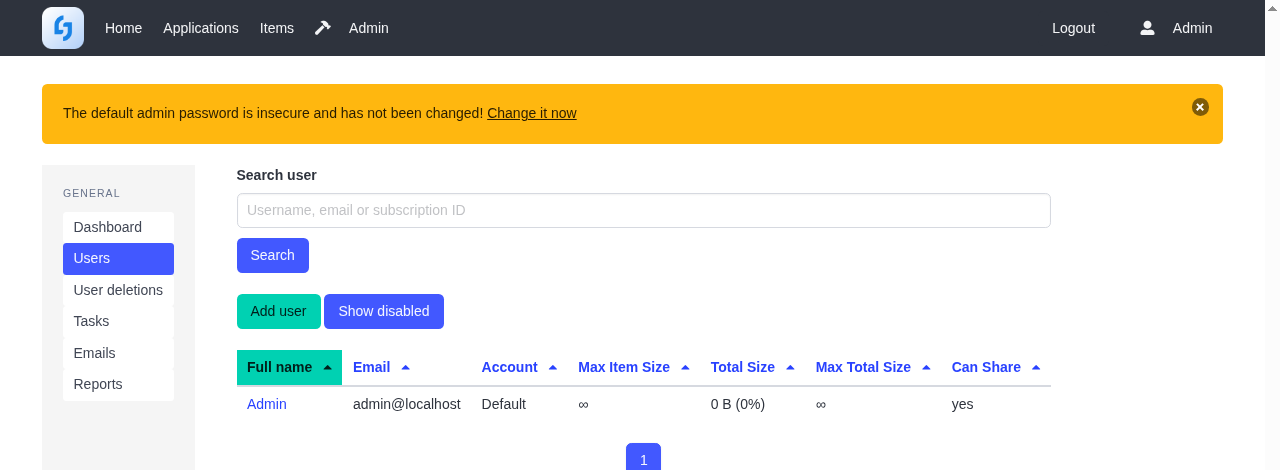
If you only want to use Joplin Server for yourself, you can keep using the admin account, but it is better to create a dedicated user: go to “Users” and click “Add user”, entering the email address and password you will then use to sync your Joplin clients.
Connecting Joplin clients to the server
With the server ready, open the Joplin app (desktop or mobile) on one of your devices and go to Settings > Synchronisation. Select “Joplin Server” as the “Synchronisation target”, then enter:
- Joplin Server URL:
http://YOUR_RASPBERRY_IP:22300(or your domain, if you have configured one) - Email and Password: those of the user created in the previous step
Click “Check synchronisation configuration” to make sure everything works, then save. From now on, your notes will be synced with your server whenever you run a manual or automatic sync.
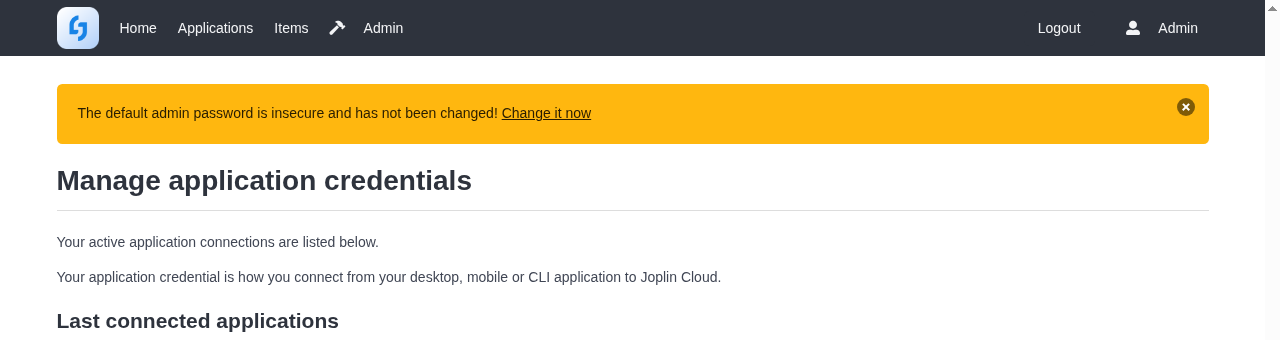
In the admin panel, under “Applications”, you can see which applications have connected to your server:
Remote access and HTTPS
If you want to sync your notes when you are away from home as well, you need to make your Raspberry Pi reachable from outside. I advise against exposing port 22300 directly over plain HTTP: it is better to put a reverse proxy with an SSL certificate in front of it, for example by installing NGINX Proxy Manager and pointing it to the container’s port 22300.
If you don’t have a static public IP address, you will also need a DDNS service to associate a domain name with your changing IP (you can find a guide on the blog on how to do this with Namecheap).
Once the domain is configured, remember to update the APP_BASE_URL variable in your docker-compose.yml with the public address (e.g. https://joplin.yourdomain.com) and restart the stack with docker compose up -d for the change to take effect.
Enjoy!
