In a previous article I described how to install WordPress as a Docker container.
Today I will explain how to add another container running the phpMyAdmin image.
To complete the phpMyAdmin configuration, you will also need Portainer.io installed on your Raspberry Pi (the installation guide is here); through this graphical interface you can make phpMyAdmin communicate with the database used by WordPress.
With that said, install the phpMyAdmin container with the following command:
docker run --name myadmin -d -e PMA_ARBITRARY=1 -p 8080:80 phpmyadmin
Once the command has completed, phpMyAdmin will be installed as a Docker container on your Raspberry Pi.
Now we need to “virtually” connect phpMyAdmin’s network interface to that of the MySQL container used by WordPress. To do this we will use the Portainer.io graphical interface, so open a web browser and type the following in the address bar:
http://your-raspberry-ip:9000
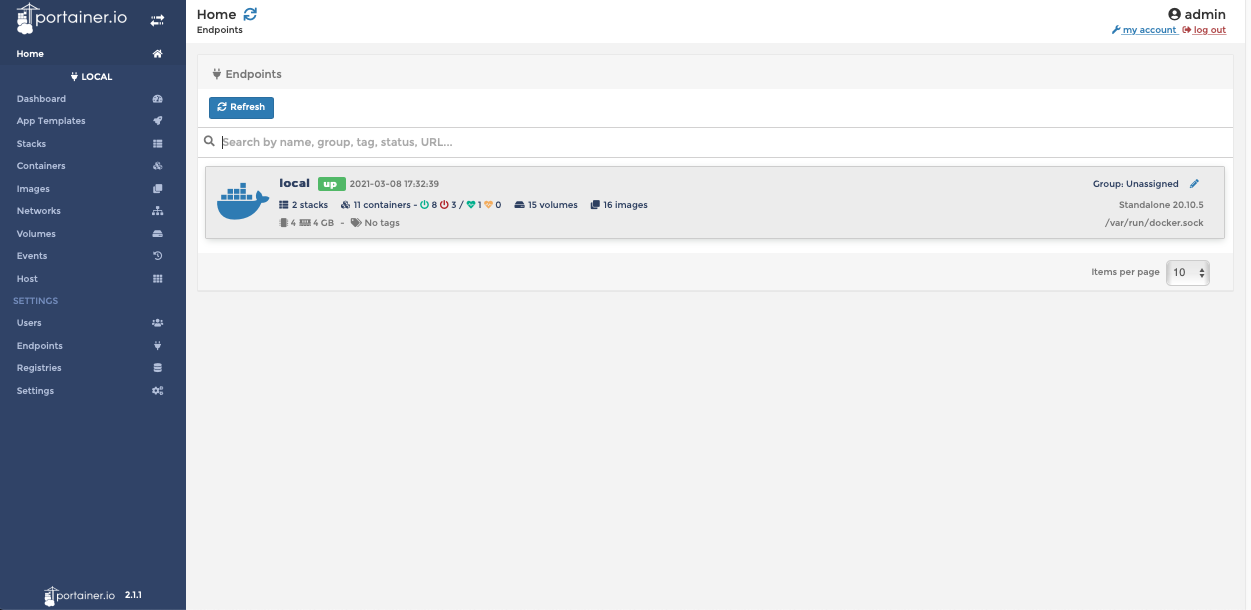
Click Containers in the left-hand menu,
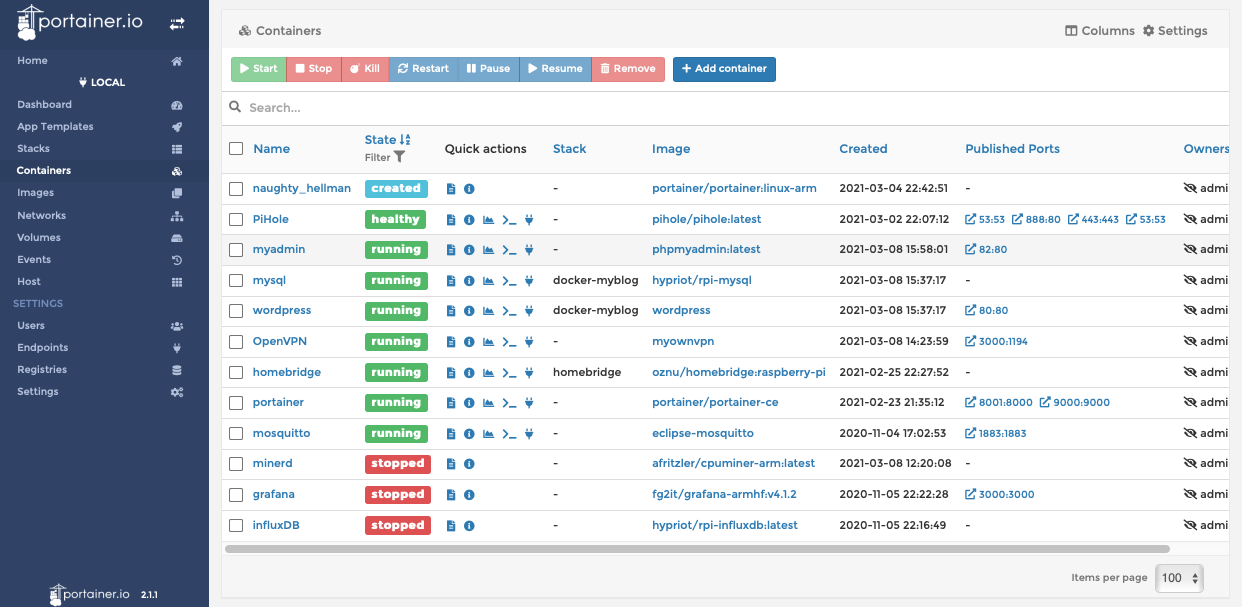
and then click myadmin
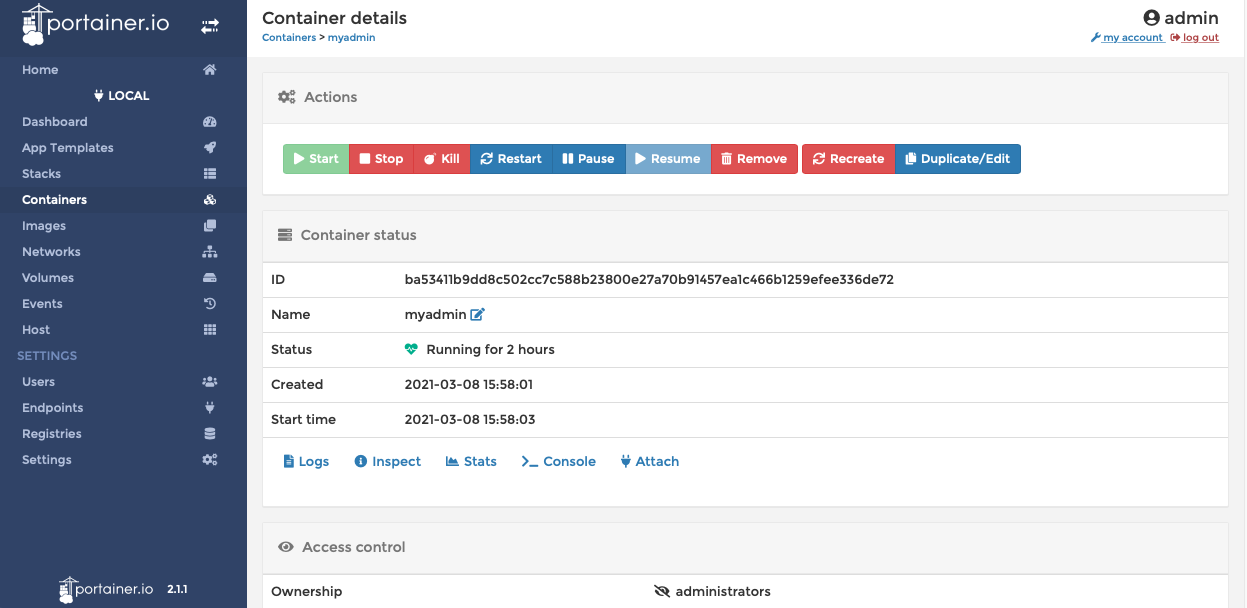
Now click “Duplicate/Edit” to make changes to this container and, once you have clicked it, scroll down the page until you find the “Advanced container settings” section, then click Network.
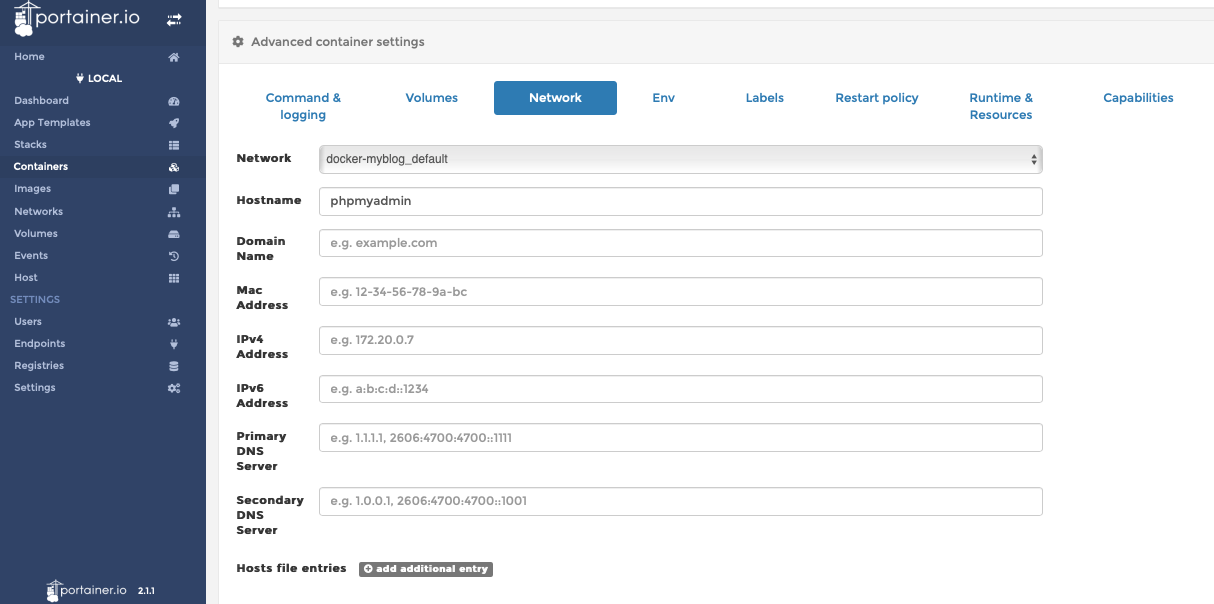
Under “Network” just below, select from the drop-down menu the same network used by WordPress and MySQL (in my case “docker-myblog_default“). Once you have done this, leave everything else as it is and apply the changes by clicking “Deploy the container“
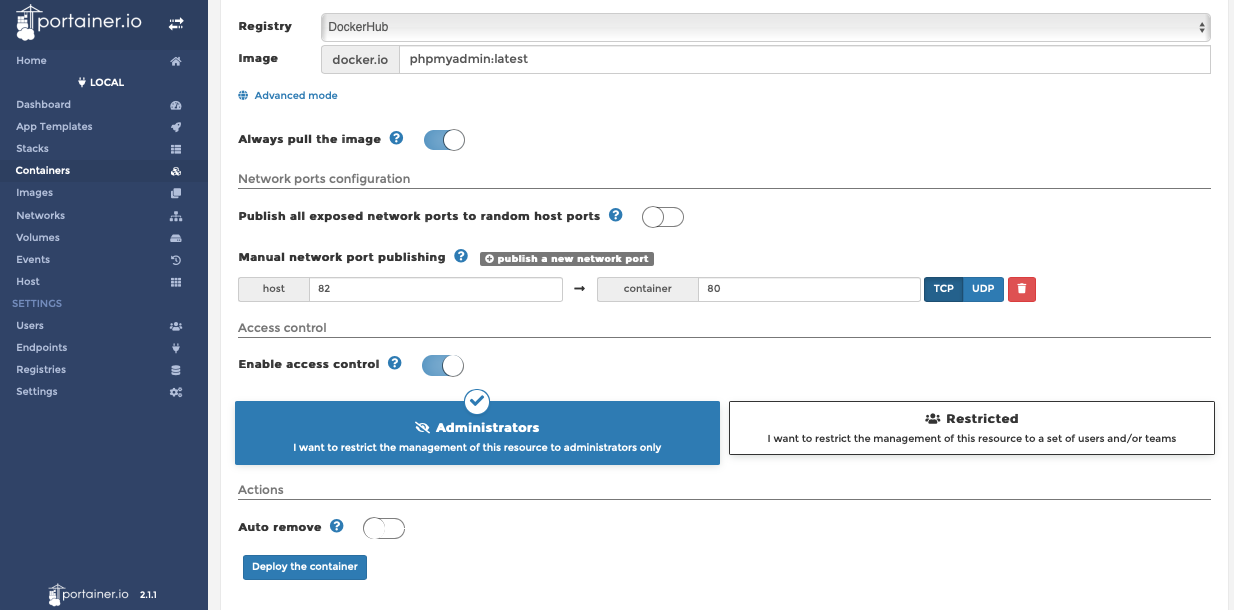
Once the phpMyAdmin container has been recreated, we need to find the IP address of the MySQL container, so click Containers in the left-hand section again and then click the mysql container.
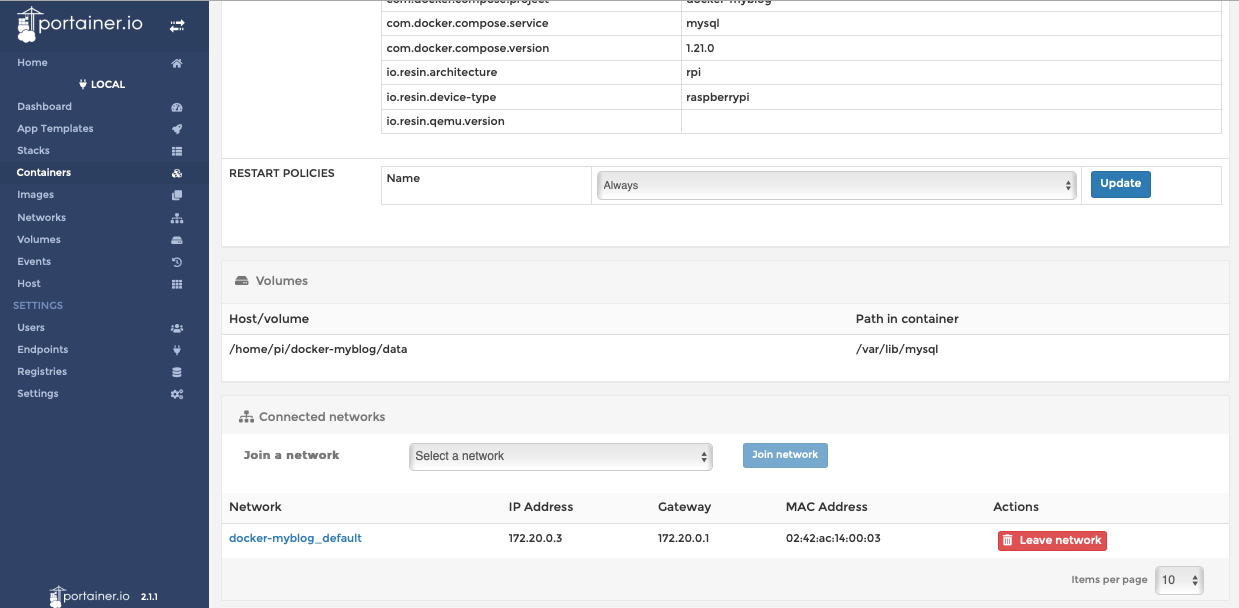
Once the page has opened, scroll down and at the bottom you will find the IP address assigned to the MySQL container.
Once you have this, open a new tab in your web browser and type:
http://your-raspberry-ip:8080
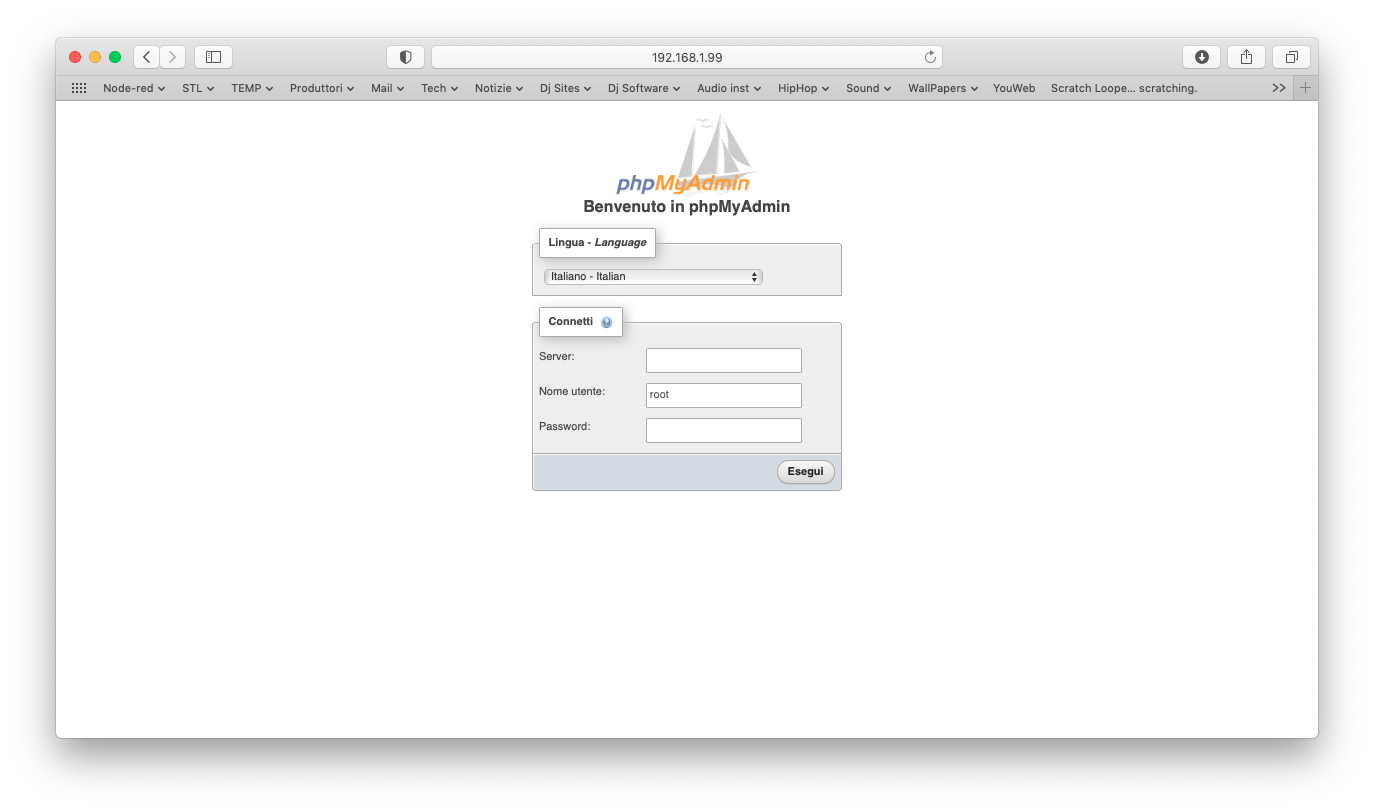
The phpMyAdmin web interface will open. Now just enter the IP address used by the MySQL container in the server field, enter root as the user and type the corresponding password in the password field — and you’re done!

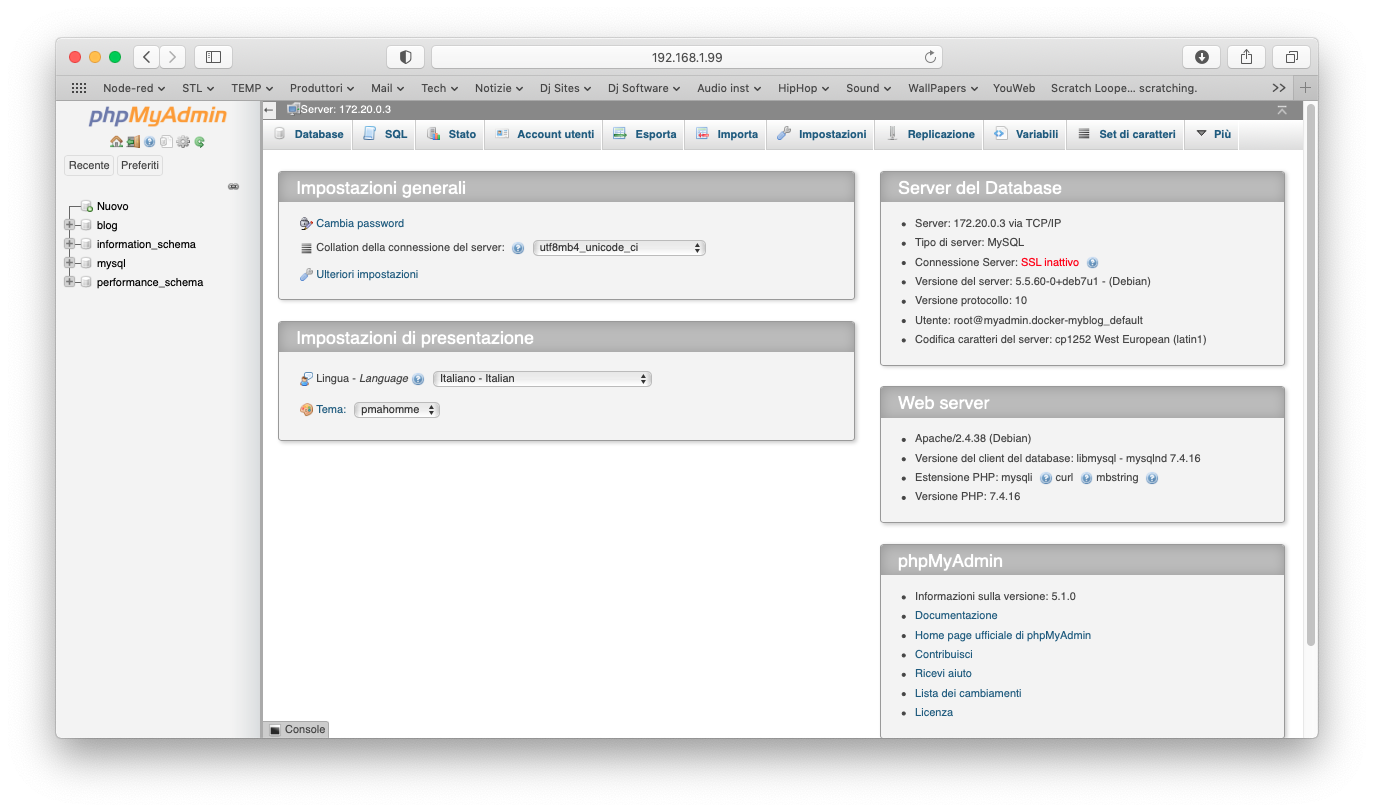
Enjoy!
