The prerequisites for following this guide step by step are, of course:
- a Raspberry Pi
- Raspbian OS (preferably the Lite version) installed
- Docker installed
With that said, connect to your Raspberry Pi via ssh and create a folder which, initially, will be used to provide the information needed for the installation and will later hold the data for your WordPress site.
mkdir /home/pi/docker-myblogcd /home/pi/docker-myblogmkdir html data
Now move into the folder you just created and create 3 files in it.
The first file to create is docker-compose.yml, which contains information about the containers to download (WordPress and MySQL) and their configuration, such as the port to publish externally (80) and the folders accessible from outside the container for both the database and the WordPress HTML pages.
From the terminal, run:
nano docker-compose.yml
and paste the following into it:
version: '3'
services:
    wordpress:
        container_name: wordpress
        image: wordpress
        volumes:
            - ./html:/var/www/html
        ports:
            - '80:80'
        restart: always
        env_file:
            - blog_env
    mysql:
        container_name: mysql
        image: hypriot/rpi-mysql
        volumes:
            - ./data:/var/lib/mysql
        restart: always
        env_file:
            - mysql_env
volumes:
    mysql: null
    wordpress: null
Press CTRL+X to close and save, confirm the file name by pressing Y and finally press ENTER.
The second file is mysql_env, which contains the information needed to set up MySQL (be sure to replace the passwords).
Again, run the following command to edit the file in the nano text editor
sudo nano mysql_env
and enter the following:
MYSQL_ROOT_PASSWORD=secret
MYSQL_DATABASE=blog
MYSQL_USER=blog_user
MYSQL_PASSWORD=blogSecret
Again, press CTRL+X to close and save, confirm the file name by pressing Y and finally press ENTER.
The third and final file is blog_env, which contains the same data as before, but this time passed to WordPress.
Again, run the following command to edit the file in the nano text editor
sudo nano blog_env
and enter the following:
WORDPRESS_DB_HOST=mysql
WORDPRESS_DB_USER=blog_user
WORDPRESS_DB_PASSWORD=blogSecret
WORDPRESS_DB_NAME=blog
Again, press CTRL+X to close and save, confirm the file name by pressing Y and finally press ENTER.
At this point, all that’s left is to run the following command so that Docker downloads and installs the WordPress and MySQL images from Docker Hub with the parameters provided in the yml file
sudo docker-compose up -d --build
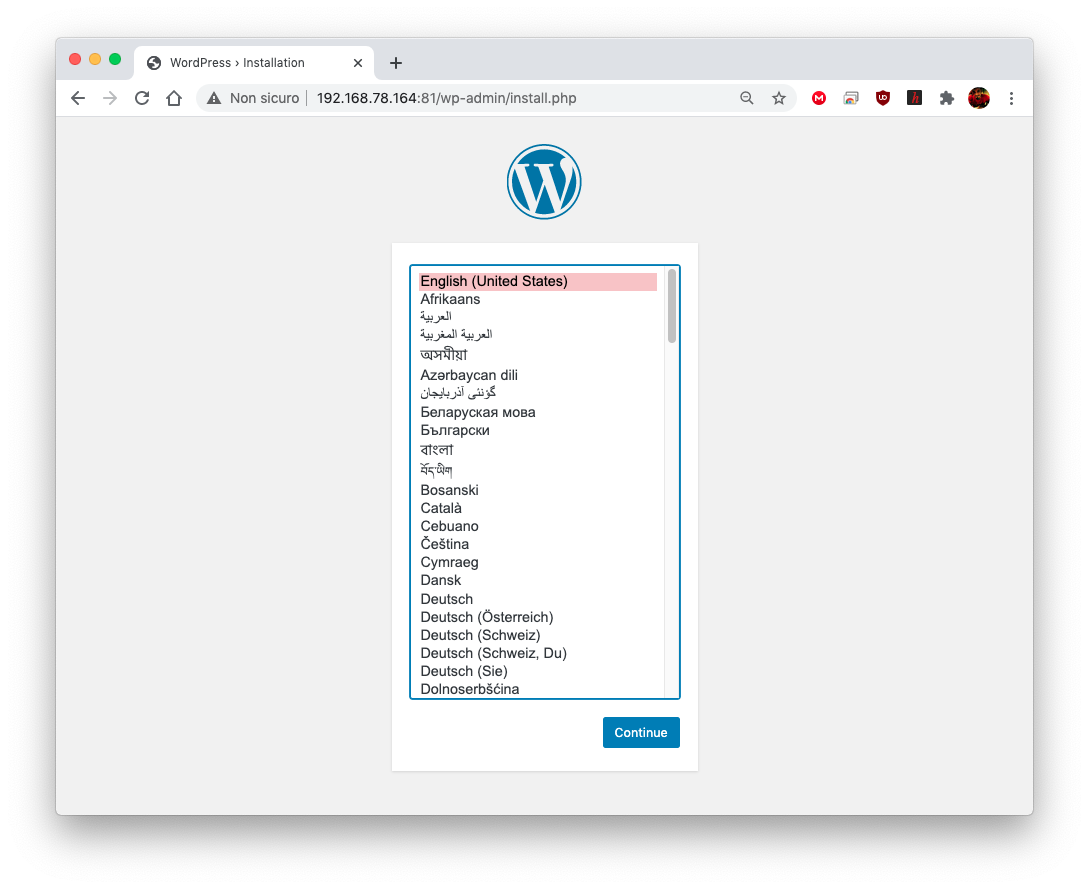
Now we just need to complete the installation through the WordPress web interface: open your favourite web browser, enter your Raspberry Pi’s IP address and you will be redirected to the following page
Enjoy!
Enjoy!
