Installing the Apache web server
Apache is a popular web server that can easily be installed on a Raspberry Pi to host web pages.
On its own, Apache can serve HTML files over HTTP. With additional modules, it can also serve dynamic web pages using scripting languages such as PHP.
Installing Apache
- Open a terminal window by selecting Accessories > Terminal from the menu
- To install apache2, simply type the following command in the terminal window you just opened and press Enter
sudo apt-get install apache2 -y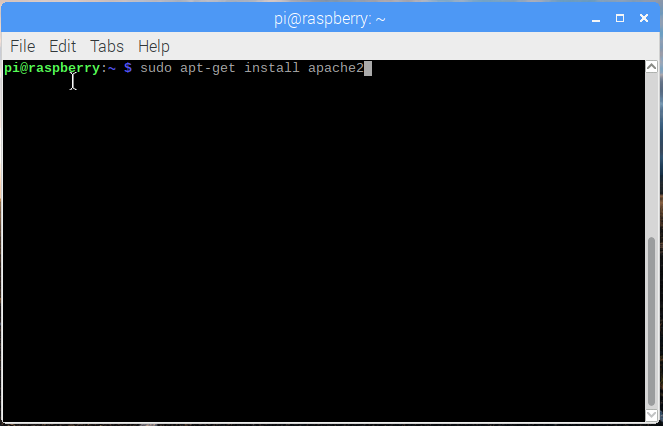
Testing the web server
By default, Apache places a sample HTML file in the web folder, which you can view from your Pi or from another computer on your network.
To view the default Apache page on your Raspberry Pi:
- Open Chromium by selecting Internet > Chromium Web Browser from the menu
- enter the address
http://localhost.
in your browser you will see:
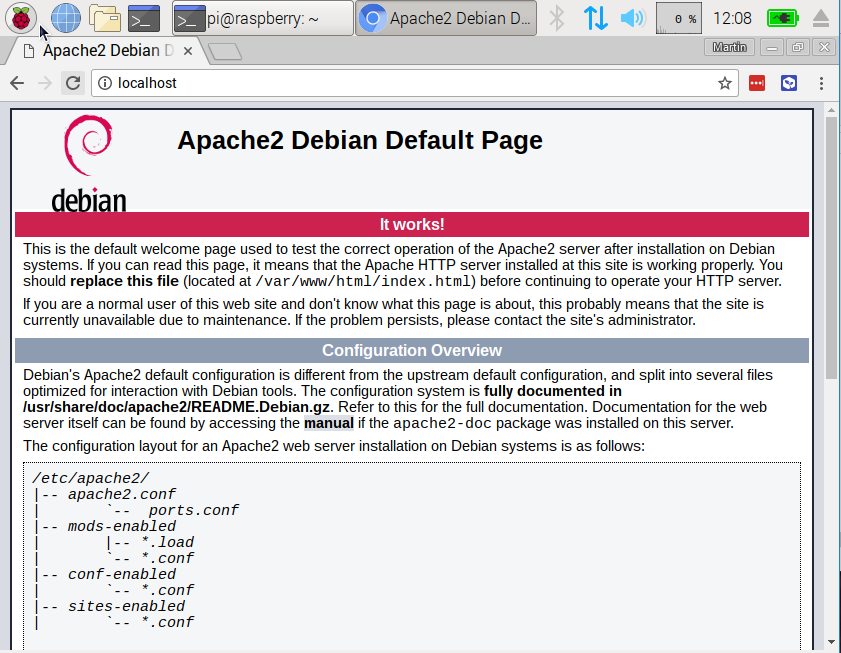
You will also be able to view this web page from another computer on your network by using your Raspberry Pi’s IP address, for example http://192.168.1.10.
To find your Raspberry Pi’s IP address, type hostname -I in the terminal window. Your Raspberry Pi’s IP address will be very useful, as it will allow us to access it remotely.
Changing the default web page
The default web page is an HTML file stored on the Raspberry Pi, located at /var/www/html/index.html.
- Let’s navigate to this folder and see what it contains:
cd /var/www/html
ls -al
You will most likely see the following:
total 12
drwxr-xr-x  2 root root 4096 Jan  8 01:29 .
drwxr-xr-x  3 root root 4096 Jan  8 01:28 ..
-rw-r--r--  1 root root  177 Jan  8 01:29 index.html
This shows that there is a file in /var/www/html/ called index.html. . refers to the directory itself, /var/www/html, and .. refers to the parent directory, /var/www/.
What the columns mean
- The permissions of the file or directory
- The number of files in the directory (or 1 if it is a file)
- The user who owns the file or directory
- The group that owns the file or directory
- The size of the file or directory
- The date and time of the last modification
As you can see, the html directory and the index.html file are both owned by the root user, so you will need to use sudo to edit them.
You can edit this file using nano:
sudo nano index.htmlIf you make a change to the file, save it and refresh your browser, you will see the change appear.
Installing PHP
PHP is a preprocessor: it is the code that runs when the server receives a request for a web page from a web browser. It works out what needs to be shown on the page in the browser. Unlike static HTML, PHP can show different content under different circumstances. Other languages can do this too, but since WordPress is written in PHP, that is what we need. PHP is a very popular language on the web: large projects such as Facebook and Wikipedia are written in PHP.
- Install the PHP package with the following command:
sudo apt-get install php -yTesting PHP
- Create the
index.phpfile:
sudo nano index.php- Add some PHP content to it:
<?php echo "hello world"; ?>- Save the file.
- Delete
index.html, because it takes precedence overindex.php:
sudo rm index.htmlRefresh your browser. You should see “hello world”. This page is not dynamic, but this time it is being served by PHP.
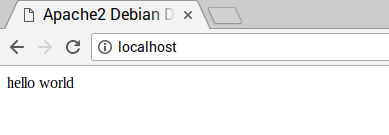
If you see the raw PHP above instead of “hello world”, reload and restart Apache as follows:
sudo service apache2 restart- Edit the
index.phpfile to include some dynamic content, for example:
<?php echo date('Y-m-d H:i:s'); ?>Or to show your PHP information:
<?php phpinfo(); ?>Installing MySQL
MySQL is a very popular database engine. Like PHP, it is widely used on web servers, which is why projects such as WordPress use it, and why those projects are so popular.
We will now install the MySQL Server and PHP-MySQL packages by entering the following command in the terminal window:
sudo apt-get install mysql-server php-mysql -yNow restart the Apache service:
sudo service apache2 restartDownloading WordPress
You can download WordPress from wordpress.org using the wget command. Helpfully, a copy of the latest version of WordPress is always available at wordpress.org/latest.tar.gz, so you can grab the latest version without having to look it up on the website. At the time of writing, this is version 4.5.
- Move to the
/var/www/html/directory and delete all the files in this folder.
cd /var/www/html/
sudo rm *- Download WordPress using
wget.
sudo wget http://wordpress.org/latest.tar.gz- Extract the WordPress tarball to access the WordPress files.
sudo tar xzf latest.tar.gz- Move the contents of the extracted
wordpressfolder into the current directory.
sudo mv wordpress/* .- Tidy up by removing the tarball and the now-empty
wordpressdirectory.
sudo rm -rf wordpress latest.tar.gz- Running the
lsortree -L 1command will show you the contents of the WordPress folder:
.
├── index.php
├── license.txt
├── readme.html
├── wp-activate.php
├── wp-admin
├── wp-blog-header.php
├── wp-comments-post.php
├── wp-config-sample.php
├── wp-content
├── wp-cron.php
├── wp-includes
├── wp-links-opml.php
├── wp-load.php
├── wp-login.php
├── wp-mail.php
├── wp-settings.php
├── wp-signup.php
├── wp-trackback.php
└── xmlrpc.php

3 directories, 16 files
This is the source of a default WordPress installation. The files you will need to edit to customise your WordPress installation are in the wp-content folder.
- Now change the ownership of all these files to the Apache user:
sudo chown -R www-data:Setting up the WordPress database
Configuring MySQL/MariaDB
To set up your WordPress site, you need a database. This is where MySQL and MariaDB come in!
- Run the MySQL secure installation command in the terminal window.
sudo mysql_secure_installation- You will be asked
Enter current password for root (enter for none):— press Enter. - Type Y and press Enter for
Set root password?. - Enter a password in the
New password:field and press Enter. Important: remember this root password, as you will need it later to configure WordPress. - Type Y for
Remove anonymous users. - Type Y for
Disallow root login remotely. - Type Y for
Remove test database and access to it. - Type Y for
Reload privilege tables now.
When it has finished, you will see the messages All done! and Thanks for using MariaDB!.
Creating the WordPress database
- Run
mysqlin the terminal window:
sudo mysql -uroot -p- Enter the root password you created.
You will be greeted by the message Welcome to the MariaDB monitor.
- Create the database for your WordPress installation at the
MariaDB [(none)]>prompt using:
create database wordpress;Note the semicolon ending the statement.
If this was successful, you should see this:
Query OK, 1 row affected (0.00 sec)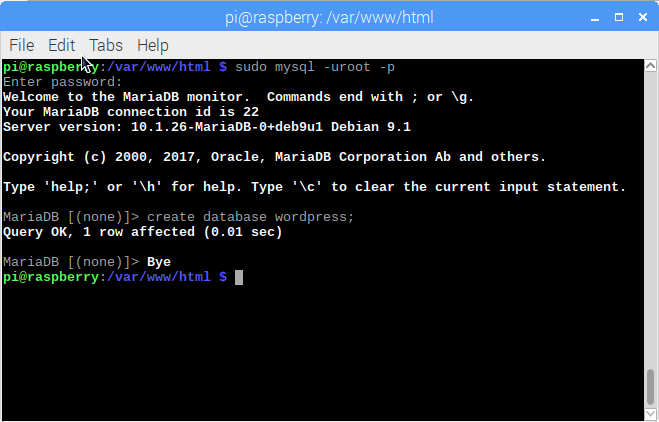
- Now grant database privileges to the root user. Note: you will need to enter your own password after
IDENTIFIED BY.
GRANT ALL PRIVILEGES ON wordpress.* TO 'root'@'localhost' IDENTIFIED BY 'YOURPASSWORD';- For the changes to take effect, you need to flush the database privileges:
FLUSH PRIVILEGES;- Exit the MariaDB prompt with Ctrl + D.
Configuring WordPress
- Open the web browser on your Pi and go to
http://localhost; you should see a WordPress page asking you to select your language.
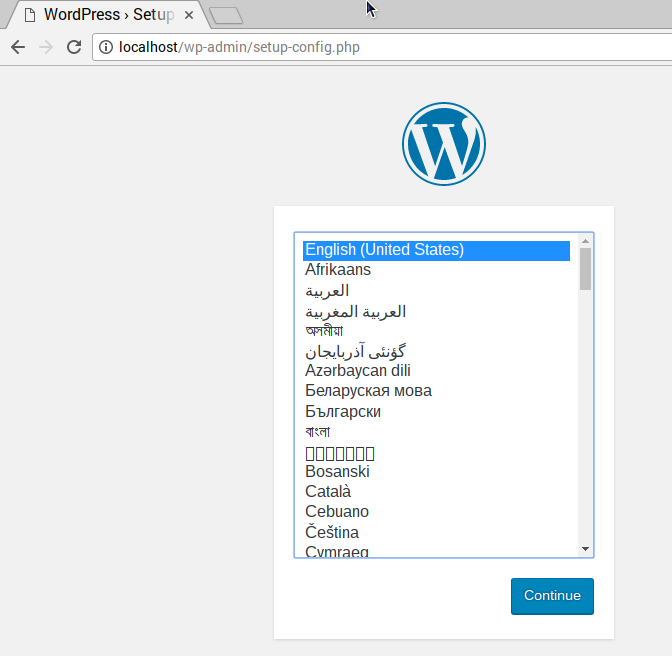
- Select your language and click Continue.
You will be presented with the WordPress welcome screen.
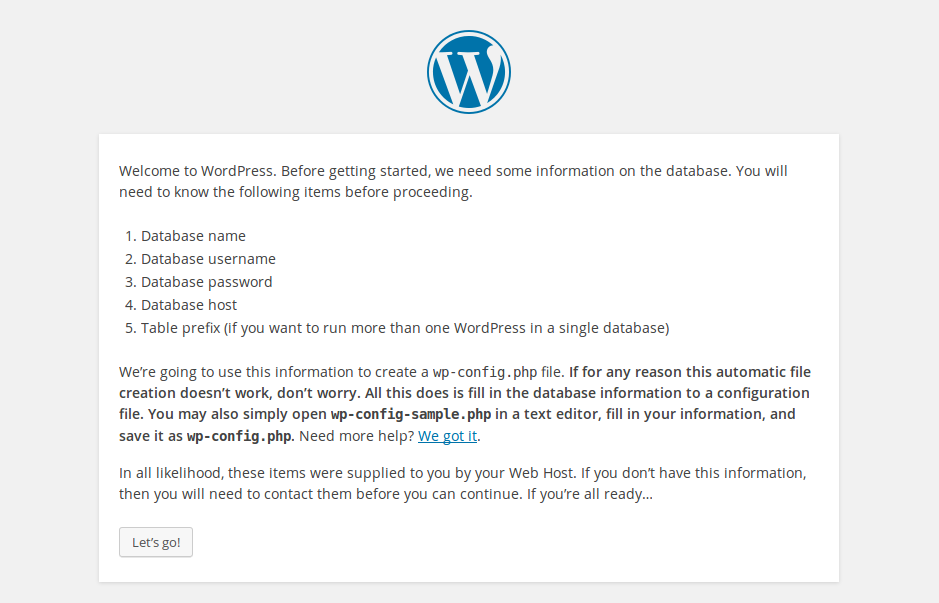
- Click the Let’s go! button
- Now fill in the basic site information as follows:
Database Name:      wordpress
User Name:          root
Password:           <YOUR PASSWORD>
Database Host:      localhost
Table Prefix: wp_- Click Submit to continue.
- Click the Run the install button.
You’re almost there!
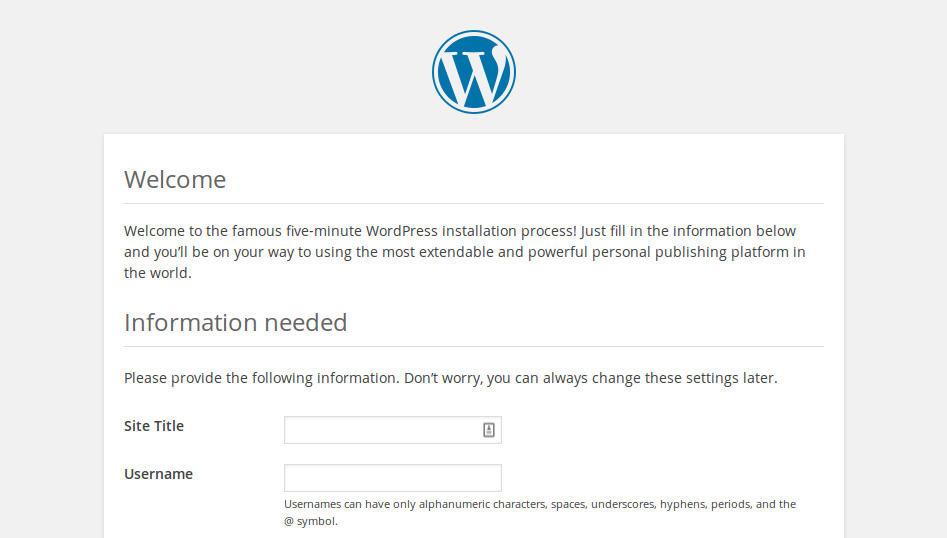
Fill in the information: give your site a title, create a username and password, and enter your email address. Click the Install WordPress button, then log in using the account you just created.
Now that you are logged in and your site is set up, you can view the website by visiting http://localhost/wp-admin.
Friendly permalinks
It is recommended that you change your permalink settings to make your URLs more user-friendly.
To do this, log in to WordPress and go to the dashboard.
- Go to Settings, then Permalinks.
- Select the Post name option and click Save Changes.
Now we need to enable Apache’s rewrite module:
sudo a2enmod rewriteYou will also need to tell the virtual host serving the site to allow requests to be overridden.
- Edit the Apache configuration file for your virtual host:
sudo nano /etc/apache2/sites-available/000-default.conf- Add the following lines after line 1.
<Directory "/var/www/html">
    AllowOverride All
</Directory>- Make sure the parameter is
<VirtualHost *:80>as shown below:
<VirtualHost *:80>
    <Directory "/var/www/html">
        AllowOverride All
    </Directory>
...- Save the file and exit.
- Restart the Apache service.
sudo service apache2 restartCustomisation
WordPress is highly customisable. Clicking your site name at the top of the page (once you are logged in) takes you to the Dashboard. From there, you can change the theme, add pages and posts, edit the menu, add plugins and much more. This is just a taster to get something interesting set up on your Raspberry Pi web server.
What next?
- Try adding pages and posts to your website.
- Try installing different themes from the Appearance menu.
- Try customising your website’s theme or creating your own.
- Try using your web server to display useful information for people on your network.
Enjoy!
